

You can resolve most common Fitbit issues by restarting your device or checking the charging connection. These problems usually stem from software glitches or dirty charging contacts that prevent power flow. Before assuming the tracker is broken, try a manual restart by holding the button on the side of the device or the charging base for 10 to 15 seconds until the logo appears.
Identify common Fitbit problems
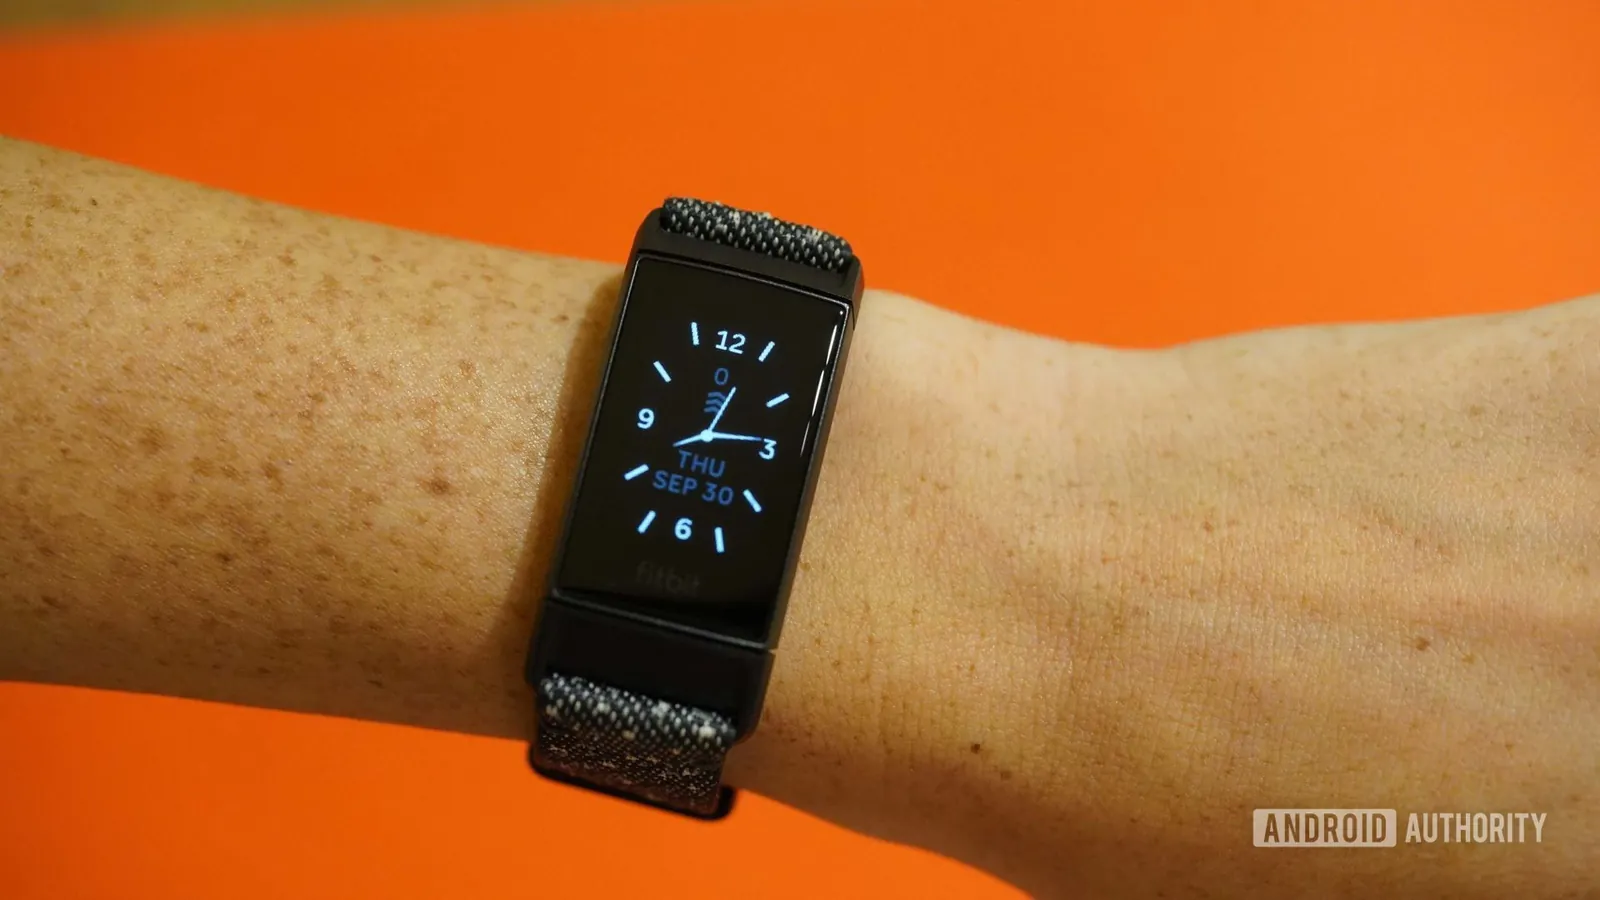
The most frequent cause for a tracker that won’t sync or turn on is a buildup of debris on the metal charging pins. Over time, sweat, skin oils, and lotion create a thin film that prevents the charger from making a solid electrical connection. Cleaning these pins with a soft, dry toothbrush or a cotton swab dipped in a tiny amount of rubbing alcohol often restores the charge immediately.
Software bugs are the second most common culprit. These devices run complex background tasks that can occasionally freeze, causing the screen to go black or the touch interface to stop responding. If the battery is drained completely, the device may require a longer time on the charger before it has enough power to restart. If you have tried charging it for two hours and the screen remains dark, the battery may have reached its natural end of life.
Finally, Bluetooth interference is a major cause of sync failures. If your phone has too many devices connected at once, or if the Fitbit app isn’t updated to the latest version, the handshake between the tracker and the phone will fail. You can check the Fitbit device compatibility requirements to ensure your smartphone meets the necessary operating system standards for a stable connection.
Force a restart on your device
If your screen is frozen or the device isn’t responding to taps, a forced restart is the primary step to take. This process clears the temporary memory without deleting your personal health data, making it a safe first move for any performance issue. You’ll need the charging cable that came with your specific model, as some trackers require the charger to be plugged into a power source to trigger the reset.
If you have a model with a single button, press and hold it for 10 seconds. If your device uses a touch-sensitive button on the screen, look for the reset hole on the charging cable and press it with a paperclip for 5 seconds. If you see the logo flash, let go of the button immediately.
If the device doesn’t vibrate or show the logo after 15 seconds, check that your power outlet is actually providing electricity by plugging in another small device. If the outlet works but the screen remains dark, ensure the charging pins are free of debris or sweat buildup. A soft toothbrush can clear these obstructions without damaging the delicate metal contacts.
This fix isn’t for users who have suffered physical water damage, as internal corrosion prevents the electronics from completing a reboot cycle. If you suspect liquid ingress, don’t attempt to power the device. Instead, place it in a dry, ventilated area for 48 hours.
If the device restarts but freezes again within an hour, the issue is likely a corrupted firmware update rather than a temporary glitch. In this case, you must perform a factory reset via the mobile application. This action wipes all stored data, so synchronize your device before initiating the process to save your recent activity logs. If the tracker remains unresponsive even after a factory reset, the internal battery has likely reached its end-of-life cycle.
Clean the charging contacts thoroughly
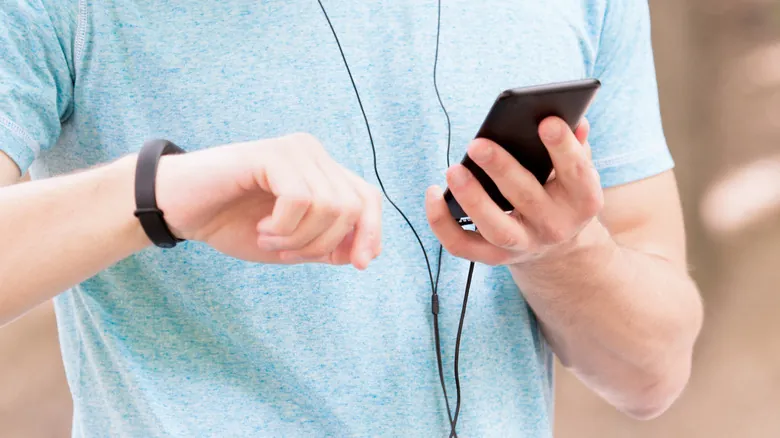
A dirty charging port is a common mistake that costs users hours of unnecessary troubleshooting time. When the metal contacts are obscured by sweat, skin oils, or pocket lint, the device can’t pull current. This leads to a dead battery that mimics the symptoms of a broken screen or a failed motherboard.
Use a soft-bristled toothbrush to gently scrub the pins on the back of your tracker and the pins on the charging cable itself. Don’t use metal tools like needles or knives, as these can scratch the gold plating or cause a short circuit. If you see deep pitting or dark, crusty buildup, you’re dealing with oxidation that a dry brush can’t remove.
In those cases, use a cotton swab lightly dampened with 70% isopropyl alcohol. Wipe the contacts firmly but avoid saturating the plastic housing, as liquid ingress can damage internal sensors. Let the area air dry for a full minute before you attempt to charge it again. If the pins appear bent or permanently pushed in, don’t force the charger. This indicates a hardware failure that requires a professional repair service rather than a cleaning solution.
To distinguish between a dirty port and a dead battery, observe the charging indicator. If the screen flashes briefly when connected but fails to hold a charge, the contacts are likely obstructed. If the screen remains completely black despite a clean port, the internal cell has likely reached the end of its cycle life.
Perform this cleaning process as needed to prevent future connection problems. Consistent maintenance prevents the buildup of conductive grime that shortens the lifespan of your charging pins. The frequency of this care depends on your usage patterns and environmental conditions, so consult your owner’s manual for specific guidance.
Manage your bluetooth and sync settings
Sync issues often stem from a conflict between your phone settings and the Fitbit app. If your tracker isn’t updating, start by turning your phone’s Bluetooth off, waiting ten seconds, and turning it back on. This forces the phone to drop the old connection and perform a fresh handshake with your wearable.
If that doesn’t work, remove the tracker from your phone’s Bluetooth settings menu entirely and re-add it through the app. Many users make the mistake of trying to pair the device through the phone’s system Bluetooth menu first. Always initiate pairing inside the Fitbit app to ensure the proper encryption protocols are established.
This method is ideal if the device is showing a “sync error” message but the screen itself is still functional. You should also ensure that the “Always Connected” feature is turned on in the app settings, which helps maintain a steady link throughout the day.
If you’re in a location with many other Bluetooth signals, such as a busy office or gym, move to a quiet area to perform the sync. Interference from Wi-Fi routers or other smart devices can cause packet loss during data transfers. If your sync bar hangs at 50% or less, move within five feet of your phone to minimize signal degradation.
If you have recently updated your phone’s operating system, don’t waste time resetting your hardware. These OS updates often break background permissions. Instead, check the app settings to ensure “Location Services” and “Nearby Devices” permissions are set to “Always Allow.” Without these specific permissions granted, the app can’t communicate with the tracker, causing the sync to fail. If the app still refuses to connect, wait for an official patch from the manufacturer.
Avoid common mistakes that cause damage
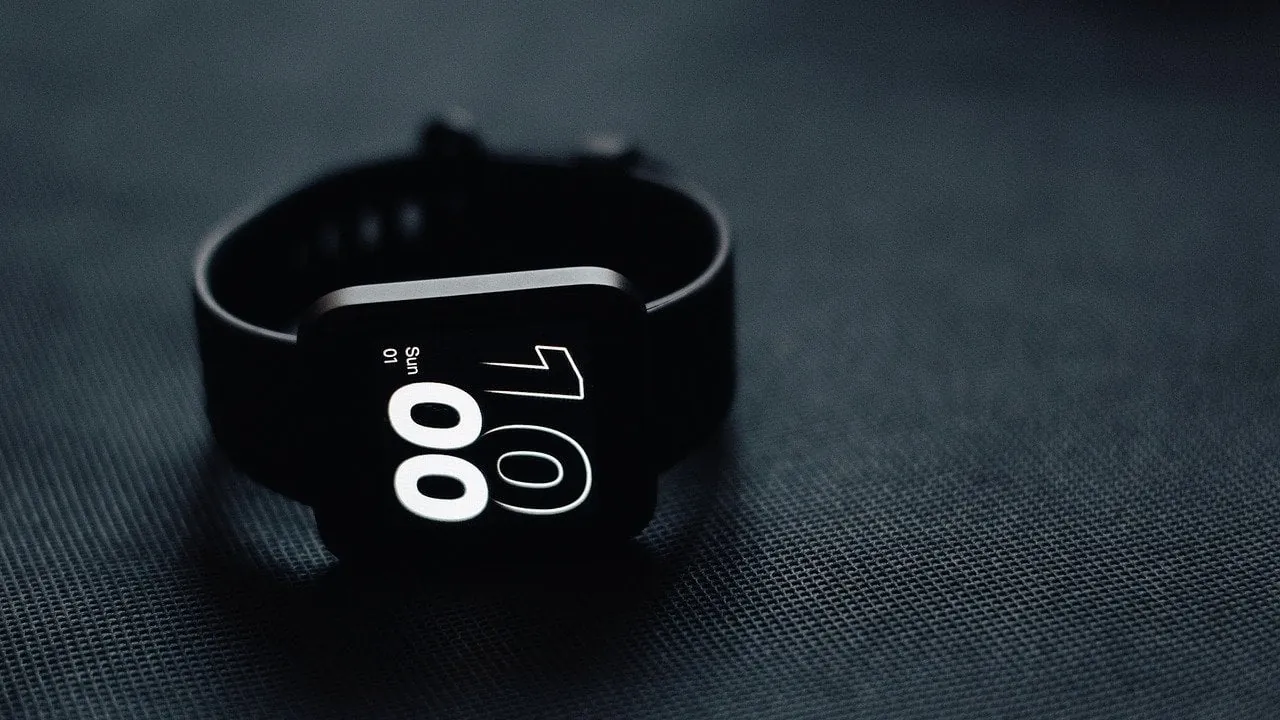
Many users accidentally accelerate the wear on their devices by following well-meaning but incorrect advice found online. Avoid these common errors to keep your tracker functioning for as long as possible.
Don’t leave your tracker on a high-heat surface like a car dashboard. Temperatures above 115 degrees Fahrenheit can permanently damage the sensitive internal battery. If your device feels hot to the touch, move it to a shaded area immediately.
Don’t attempt to open the device housing to replace the battery yourself. This action breaks the factory-applied water-resistant seal. Once that seal is compromised, even minor exposure to humidity or sweat will cause internal corrosion. This mistake also voids your warranty, leaving you responsible for the full cost of a replacement unit.
Don’t use harsh detergents or chemical solvents to clean the wristband. These substances degrade the silicone material, leading to cracks and structural failure within months. Use only a damp cloth and mild, fragrance-free soap. If you notice redness on your skin, you’re likely using too much soap or failing to rinse the band thoroughly.
Don’t ignore low battery warnings for weeks at a time. Lithium-ion batteries enter a state of deep discharge if they sit at zero percent for too long. If the voltage drops below a critical threshold, the battery may become difficult to recharge or experience reduced capacity. If you plan to store the device for more than a month, charge it to fifty percent first to maintain chemical stability.
Prevent connection issues from returning
To stop these problems from happening again, you should establish a routine for maintaining your device. The frequency of your care depends on your usage patterns and environmental conditions, so consult your owner’s manual for specific guidance on how to handle the charger and software updates.
| If you’re doing this | Do this instead | Why |
|---|---|---|
| Leaving the tracker on until it dies | Charge at 20% | Deep discharge wears out battery cells |
| Using a PC port for charging | Use a wall adapter | Wall plugs provide a steady voltage |
| Keeping the app closed | Keep it running in background | Allows for regular background syncs |
| Ignoring firmware update prompts | Update immediately | Patches fix known bugs and errors |
If you notice your battery life dropping by more than 15% during a standard eight-hour sleep cycle, stop the overnight charging habit immediately.
Use a dedicated wall brick rather than a USB port on a laptop or gaming console. Computer ports often fluctuate in power delivery, which can trigger the device’s internal safety sensors to cut off the connection prematurely.
If the device fails to charge even when plugged into a wall, inspect the charging pins for debris. A tiny buildup of pocket lint or skin cells can act as an insulator, blocking the electrical contact. Use a dry, soft-bristled brush to clear the port before attempting another charge.
If your device still refuses to power on or sync after trying these steps, contact the official manufacturer support team. They can run a remote diagnostic to determine if the issue stems from your user profile or the hardware. Have your serial number ready to help them identify your specific device.
Related guides