Finding new headlight assembly replacements can be a difficult task due to the extensive options of assemblies with varying compatibility, price, and light source.
Therefore, in this article, we will go over the comparison of the 5 best headlight assembly replacements, how they benefit a normal user, and factors to consider while buying them. So that you’ll gain valuable real-world perspectives on the performance, quality, and potential drawbacks of different headlight assemblies.
| Preview | Headlight Assembly | Light Source | Weather Resistance | Durability | Ease of Installation | Weight | Price |
|---|---|---|---|---|---|---|---|
 |
DNA MOTORING HL-OH-CS03-4P-CH-AM | LED Lights | Weather Sealed | Plastic Made Exterior | Plug and Play | 10.78 pounds | Check Price |
 |
DNA Motoring HL-OH-CSIL14-BK-CL1 | LED Lights |
Waterproof design | Clear Lens | Plug and Play | 19.21 pounds | Check Price |
 |
AUTOSAVER88 (Rubber) | Halogen | Rubber Sealed. | Polished Polycarbonate Lens | Easy installation within 15 minutes | 7.41 pounds | Check Price |
 |
DNA Motoring HL-OH-TRA02-BK-AM | LED Lights | Waterproof design | Black Housing Amber Corner | Plug and Play | 14.96 pounds | Check Price |
 |
AUTOSAVER88 Headlight Assembly (Silicon) |
Halogen | Silicon Sealed | Polycarbonate lens | Professional Installation Recommended | 7.41 pounds | Check Price |
Note: The above-mentioned details are taken directly from reviews and manufacturer’s specifications on the official product pages at amazon.com, and some of these products do NOT include the bulbs with the package. We may earn some commission if you buy any product using our affiliated links.
5 Top Headlight Assembly Replacements Ranked
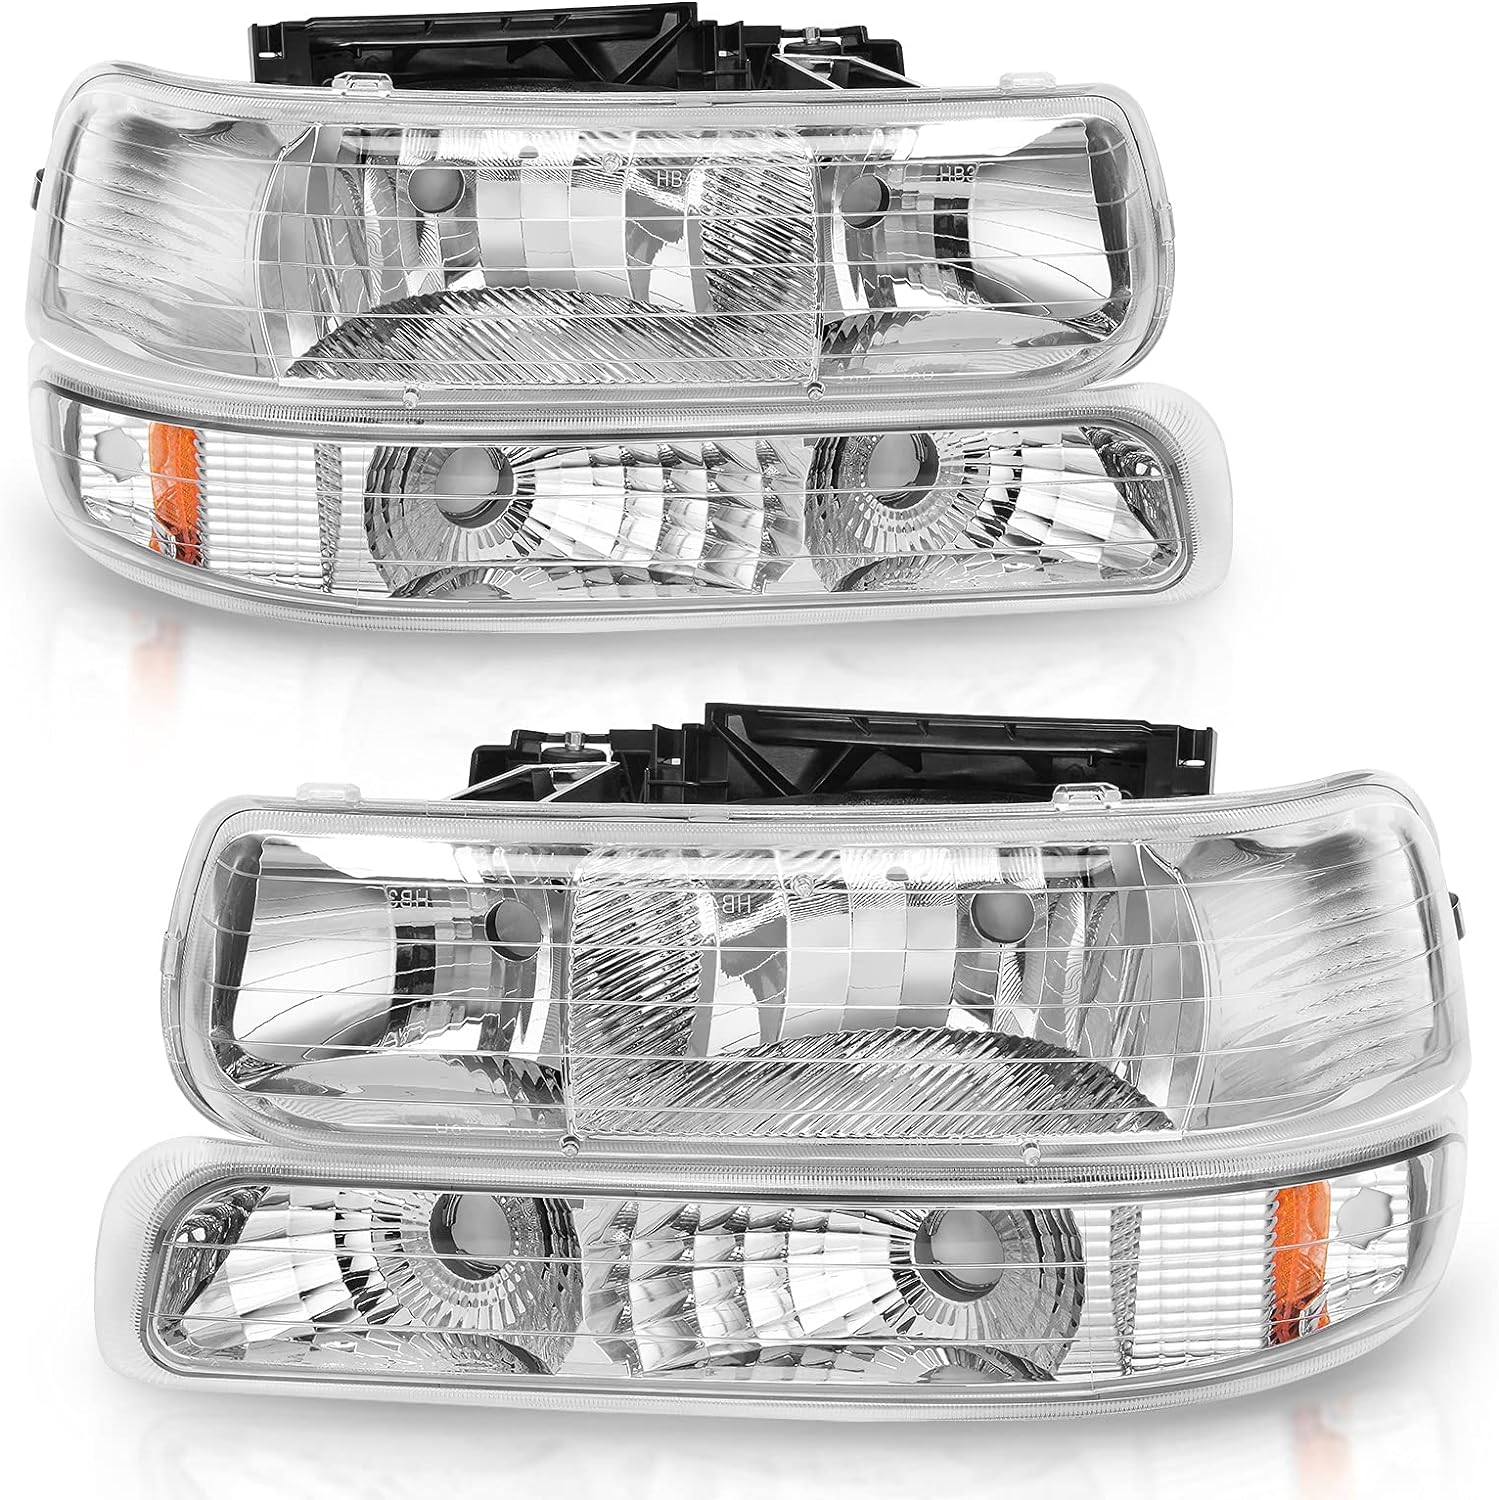
#1. DNA MOTORING HL-OH-CS03-4P-CH-AM Headlight Assembly
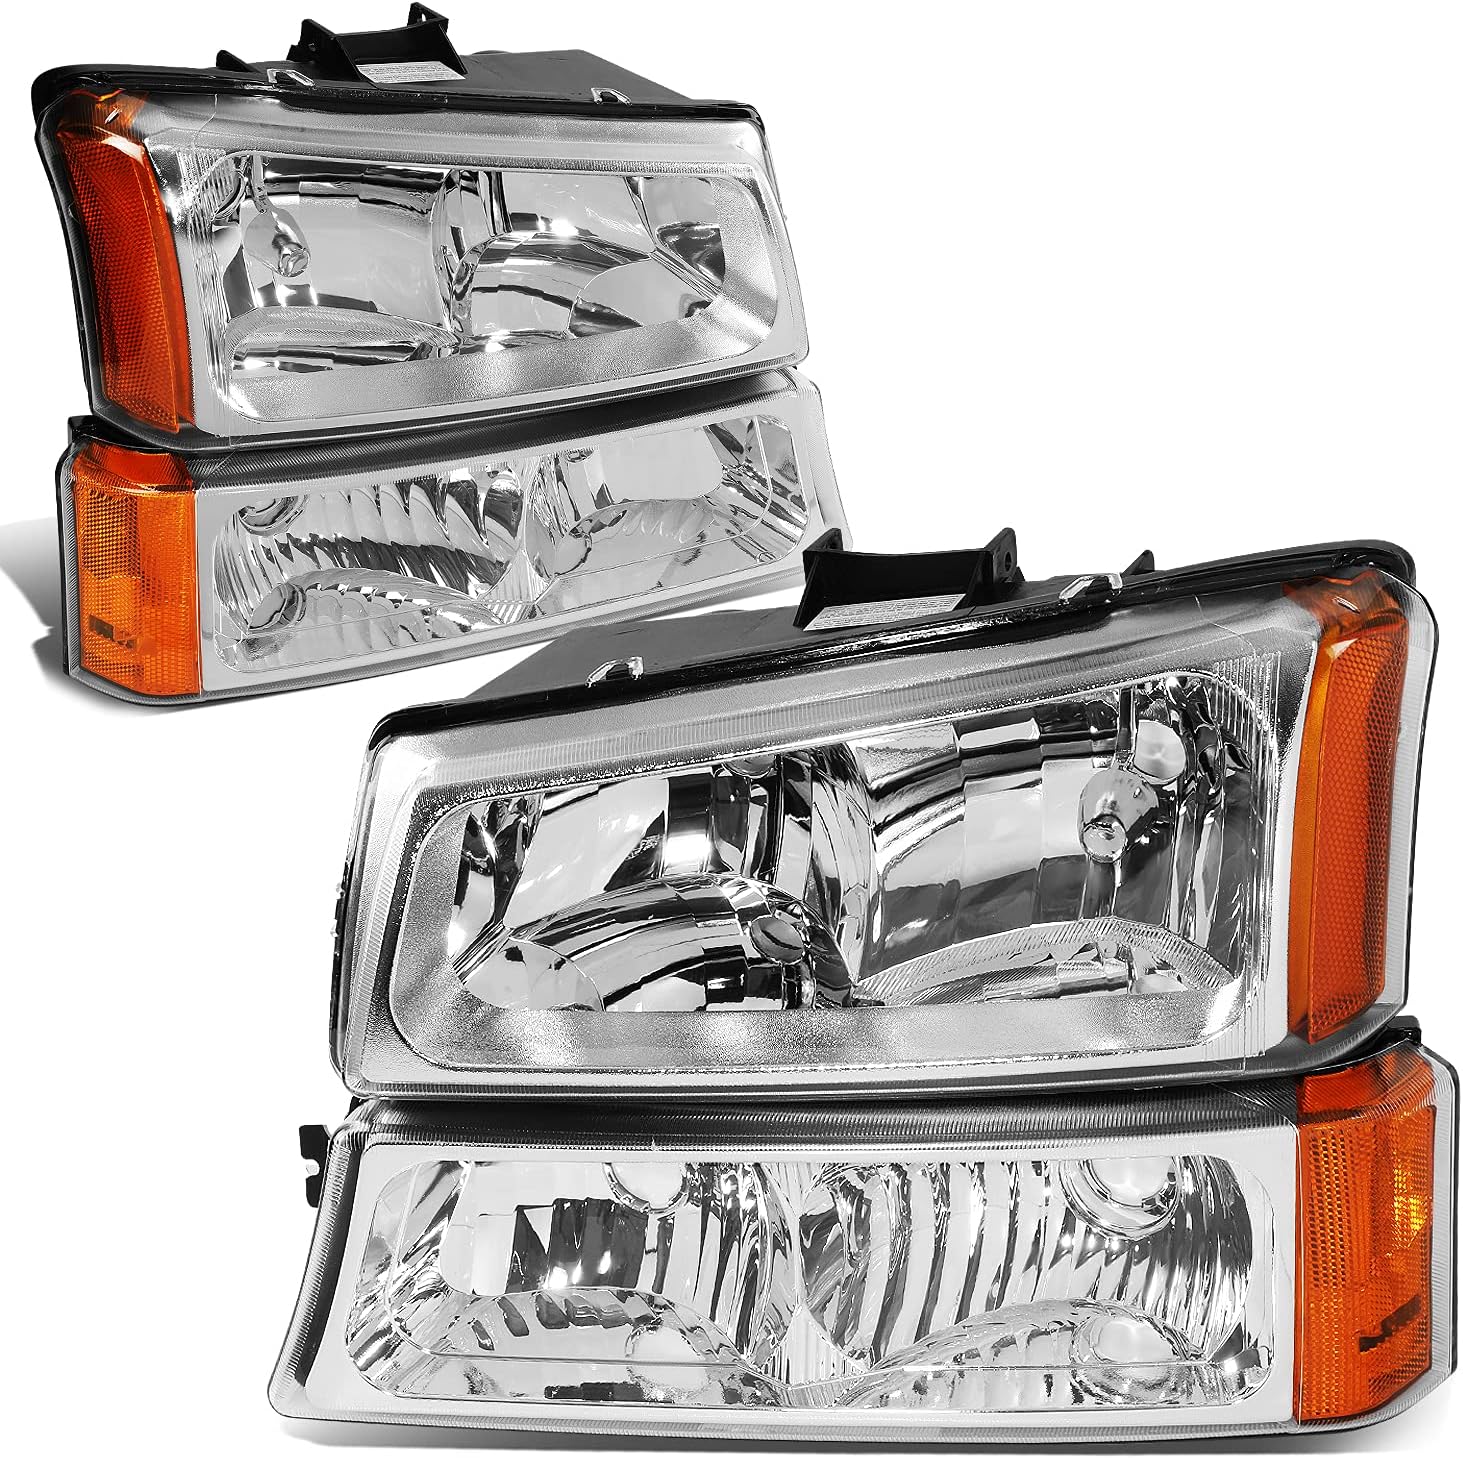

DNA Motoring HL-OH-CS03-4P-CH-AM is a popular choice when buying the best headlight assembly replacements. Because it comes with the support of high and low-beam LED bulbs. These LED bulbs help to illuminate the road ahead while also saving you money as it requires less energy.
These headlight assemblies are weather-sealed, meaning they’re protected from rain, snow, and even dust. So, no matter what the forecast throws your way, you can be sure your headlights will be protected from moisture and environmental particles that are harmful to your headlight’s performance.
Built to last, these headlight housings boast a tough plastic exterior. They can handle bumps, scratches, and even the occasional fender bender without breaking a sweat. So, you can drive with confidence, knowing your lights will stay bright and reliable for years to come.
They’re plug-and-play, meaning you can easily swap them out for your old ones without needing any special tools or expertise. Plus, the compact and lightweight design, these headlights measure just 24 x 17 x 9 inches and weigh only 10.78 pounds. They’ll fit seamlessly into your car without adding any unnecessary bulk.
Pros
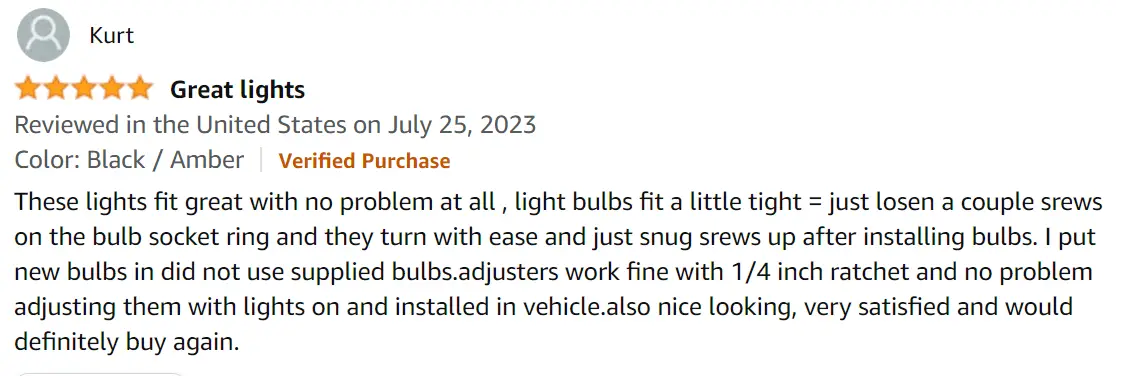
- The customer reported that bulb holes inside the headlights were sealed and the inside was completely free of moisture.
- Didn’t need to adjust the timing.
- Great range of compatibility.
Cons
- Some customers report that the holes in the bulb are very tight and hard to insert.
- A customer reported that the passenger side bumper lights had moisture buildup inside the unit due to poor sealing.
Note: The pros and cons above are gathered from here.
How to Install DNA Motoring’s Chrome Amber Headlight Assembly
Tools and Materials needed,
- Screwdrivers (Phillips and flathead)
- Socket wrench set.
- Flashlight
- Shop towels
- Replacement bulbs (9005 high beams, 9006 low beams)
Steps:
1. Park your vehicle on a level surface in a well-lit area. Engage the parking brake and turn off the engine.
2. Locate and release the hood latch, then prop the hood securely open.
3. Identify the headlight assemblies you’re replacing. Consult your vehicle’s service manual for specific location details.
4. Locate and disconnect the electrical connectors from the back of the headlight assembly. Use the appropriate tools to remove any screws and bolts, or clips securing the assembly. Carefully remove the old headlight assembly and set it aside.
5. Place the new headlight assembly into position, ensuring proper alignment. Secure the assembly using the supplied hardware or existing screws/bolts. Reconnect the electrical connectors to their corresponding ports. Double-check for secure connections.
6. Locate the bulb access covers on the back of the new headlight assembly. Consult your vehicle’s service manual or the bulb packaging for specific bulb installation instructions. Install the appropriate bulbs (9005 high beam, 9006 low beam) carefully, ensuring proper placement and polarity. Replace the access covers and secure them tightly.
#2. DNA MOTORING HL-OH-CSIL14-BK-CL1 Headlight Assembly
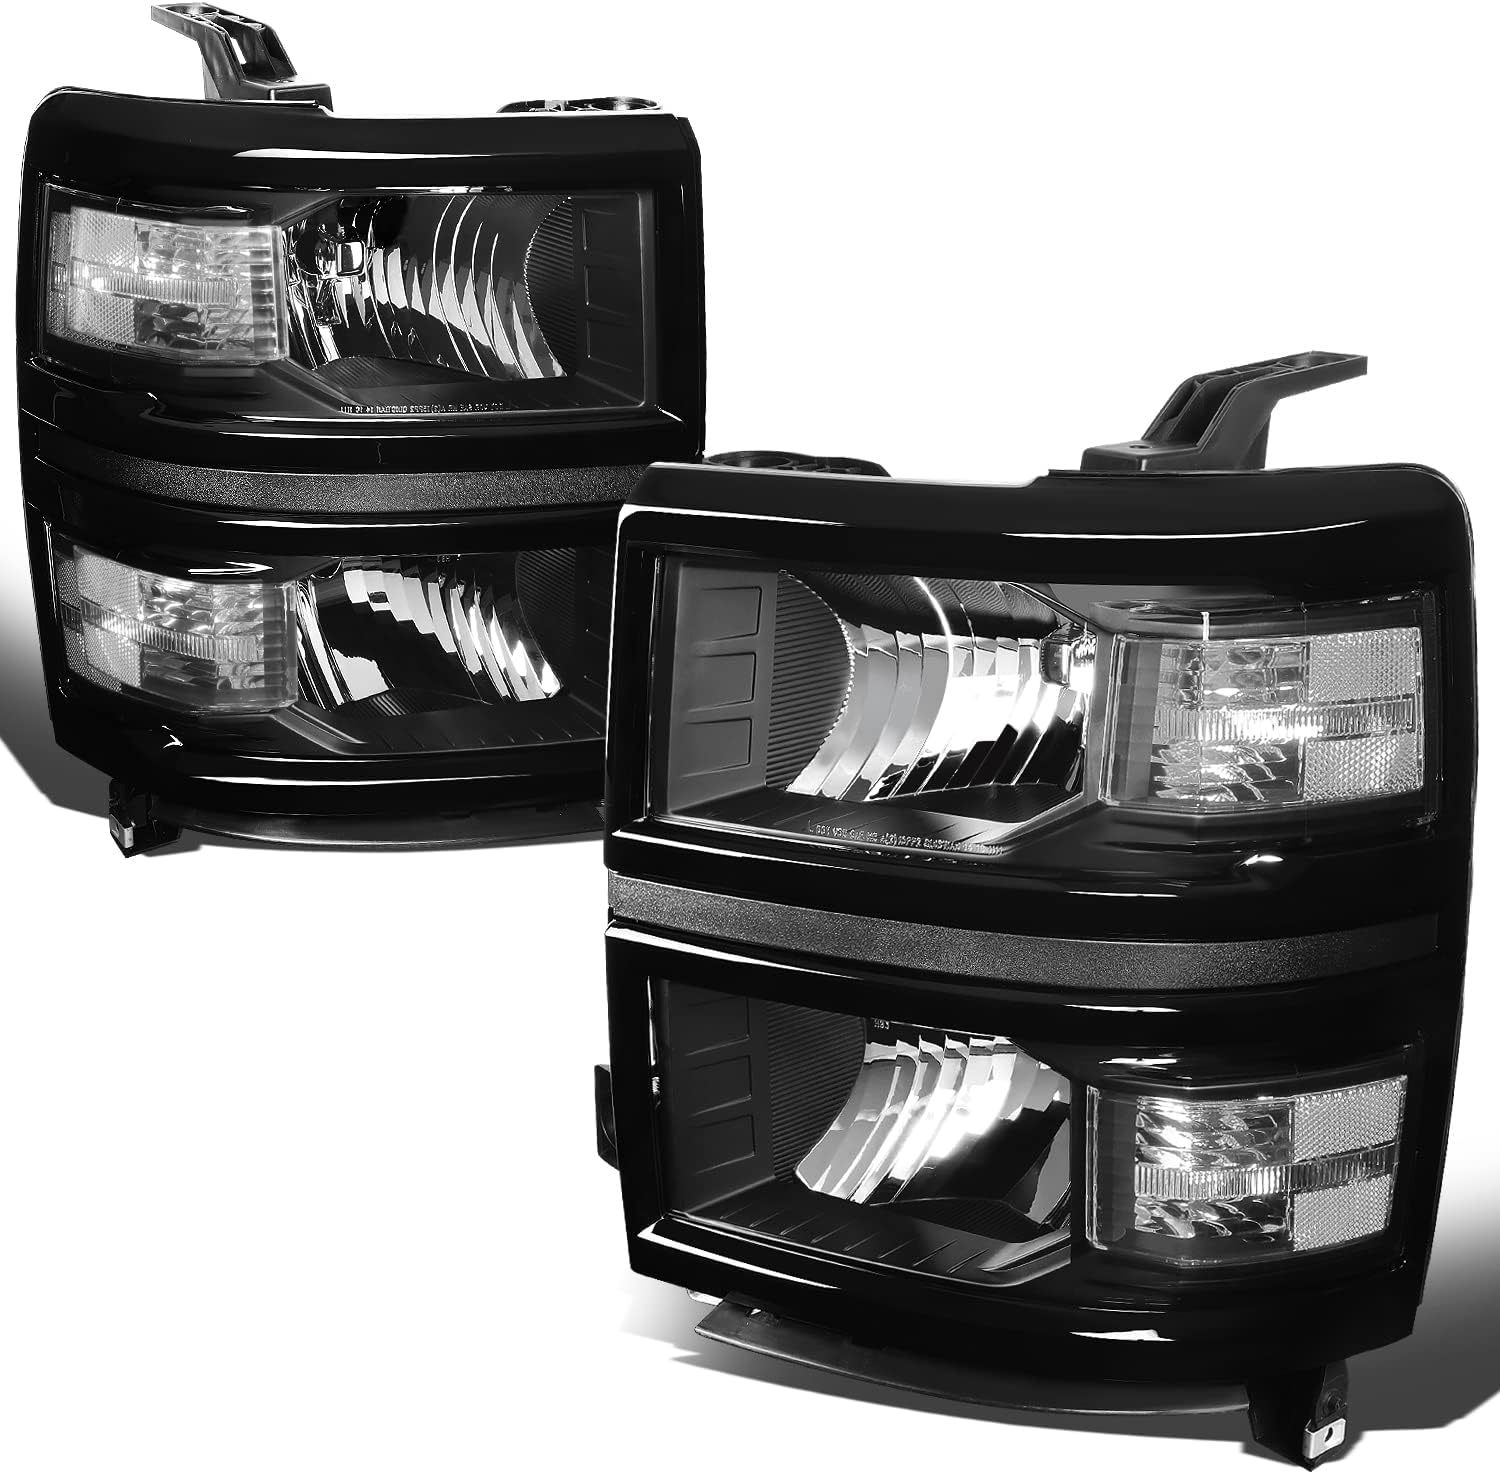

DNA Motoring HL-OH-CSIL14-BK-CL1 Headlight Assembly is powered by long-lasting, energy-saving LED bulbs. These bulbs offer great energy-saving illumination which helps you to save money on fuel.
This housing doesn’t let rain or snow dim your lights because the design and build are waterproof. Meaning they’re protected from the small elements of the open environment and will keep shining brightly in any weather.
Built to last, these headlights have a clear plastic lens. While it may seem delicate, it’s quite tough and can handle everyday wear and tear. So, you can drive with confidence, knowing your lights will stay unharmed.
Their plug-and-play simplicity feature makes them easy for you to install and take off. These headlights are a bit larger than some, measuring 24 x 22.5 x 18.5 inches and weighing 19.21 pounds. Make sure they fit your car before buying.
Pros
- Customers were very pleased with the excellent fitment.
- Looks original appearance-wise.
- No need to modify any part of the vehicle and provide a bright reflection at night.
Cons
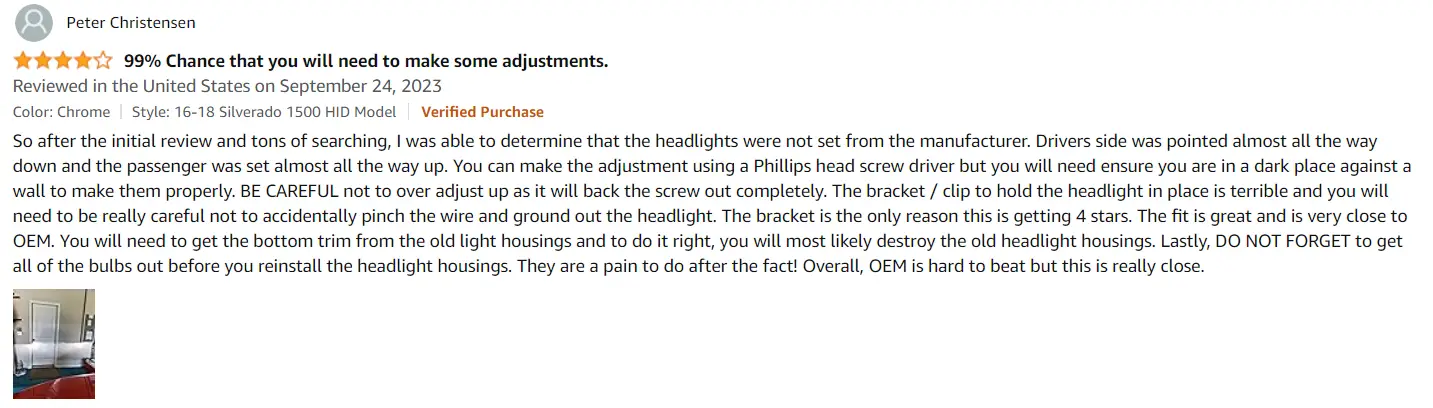
- Some customers complained about the adjuster’s improper functionality.
- Customers dislike the seal and have reported moisture buildup.
Note: The pros and cons above are gathered from here.
How to Install DNA Motoring Black Headlight Housing
Tools and Materials needed,
- Screwdrivers (Phillips and flathead)
- Socket wrench set
- Flashlight
- Shop towels
- Replacement bulbs (9005 high beam, H11 low beam)
Steps –
1. Park your vehicle on a level surface in a well-lit area. Engage the parking brake and turn off the engine.
2. Locate and release the hood latch, then prop the hood securely open.
3. Identify the headlight assemblies you’re replacing. Consult your vehicle’s service manual for specific location details.
4. Locate and disconnect the electrical connectors from the back of the headlight assembly. Use the appropriate tools to remove any screws and bolts, or clips securing the assembly. Carefully remove the old headlight assembly and set it aside.
5. Place the new headlight assembly into position, ensuring proper alignment. Secure the assembly using the supplied hardware or existing screws/bolts. Double-check for secure connections. Reconnect the electrical connectors to their corresponding ports. Ensure proper polarity and secure connections.
6. Locate the bulb access covers on the back of the new headlight assembly. Consult your vehicle’s service manual or the bulb packaging for specific bulb installation instructions. Install the appropriate bulbs (9005 high beam, H11 low beam) carefully, ensuring proper placement and polarity. Replace the access covers and secure them tightly.
8. Additionally, locate the corner lights on the new headlight assembly and their corresponding connectors. Consult your vehicle’s service manual or the headlight kit instructions for specific connection details. Securely connect the corner lights to their designated wiring harness.
#3. AUTOSAVER88 Headlight Assembly With Bumper Lights
AUTOSAVER88 is a sought-after choice when buying the best headlight assembly replacements. Because it offers both headlights and bumper lights, which can single-handedly transform the front looks of your vehicle. This assembly supports the use of standard halogen bulbs, which are just like a traditional light bulb and can be easily found. Moreover, halogen bulbs provide a bright, reliable light for safe driving at night.
No need to worry about rain or dust because these headlights are rubber sealed, which helps to keep them protected from the elements and keeps them shining bright.
Built to last, these headlights have a polished polycarbonate lens, which is especially known for its durability. This lens is tough and scratch-resistant, ensuring your lights stay clear and bright.
Replacing these headlights is fast and easy. This assembly is easy to install and can be assembled in just 15 minutes, even if you’re not a mechanic.
This assembly is smaller than most with its lightweight and compact design, measuring 23.2 x 20.3 x 7.4 inches and weighing only 7.41 pounds. These are made to fit standard-size SUVs, but it is highly recommended that you make sure they fit with the help of the previously mentioned measurements.
Pros
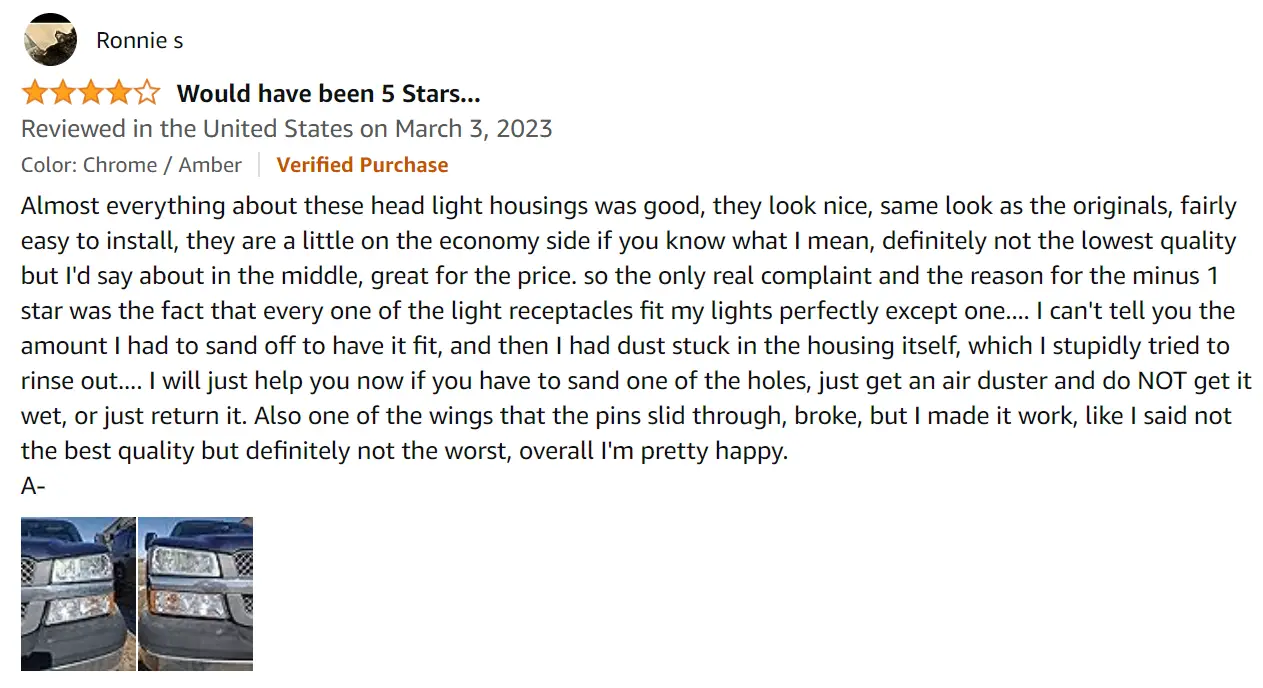
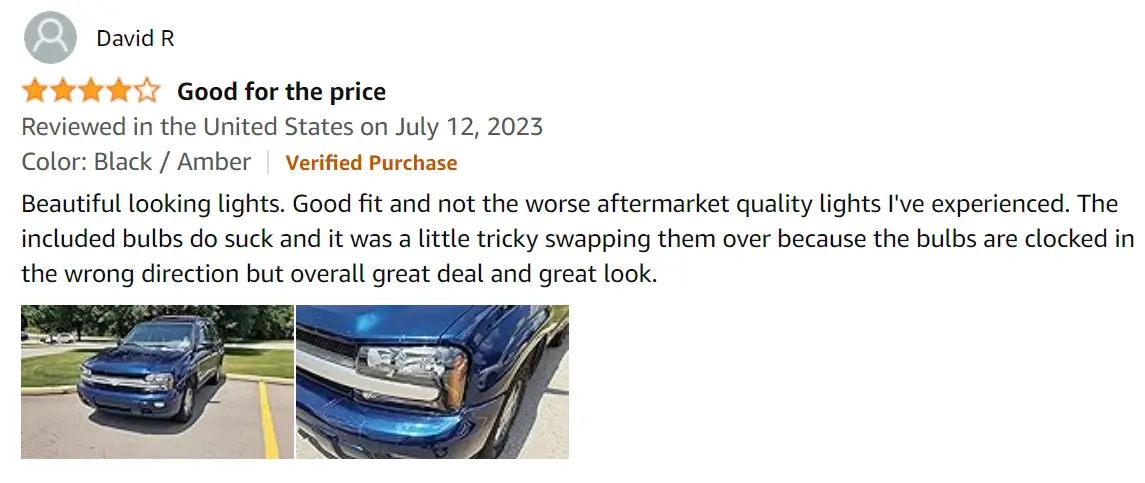
- Great product for the price.
- Clear lenses that greatly increase the light output
- Customers mentioned that they loved the design.
Cons
- Some customers reported that the holes were too big for the bulbs to lock in correctly.
- Some customers said that the adjustment screws have a poor fit.
Note: The pros and cons above are gathered from here.
How to install Autosaver88 Headlight Assembly?
The installation process may vary depending on the specific model and year of your vehicle. However, here is a general guide that might help you assemble it at home.
General Installation Steps:
- Consult your vehicle’s service manual – This will provide the most accurate and detailed instructions for removing and installing your headlights, including specific tool requirements and safety precautions.
- Gather necessary tools and materials – You will likely need screwdrivers (Phillips and flathead), a socket wrench set, a flashlight, shop towels, and replacement bulbs (HB3/9005 for high beam, HB4/9006 for low beam).
- Prepare your workspace – Park your vehicle on a level surface in a well-lit area, engage the parking brake, and turn off the engine.
- Safely disconnect the battery from the old assembly – This is crucial to prevent electrical shock during the installation process.
- Connect the new headlight assembly – Double-check all connections for secure and proper polarity.
- Install the bulbs (if not already pre-installed). Refer to the bulb packaging or service manual for specific installation instructions.
Additional Resources:
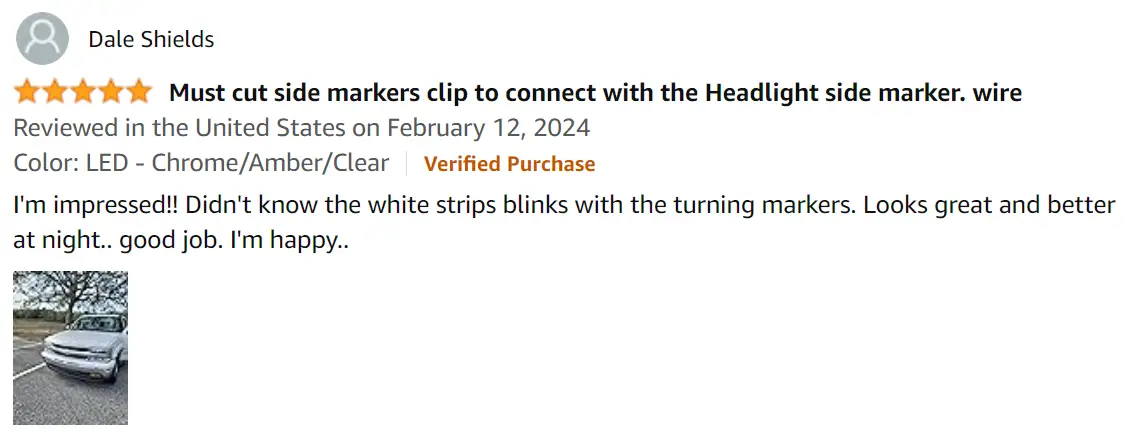
#4. DNA MOTORING HL-OH-TRA02-BK-AM Black Headlight Assembly
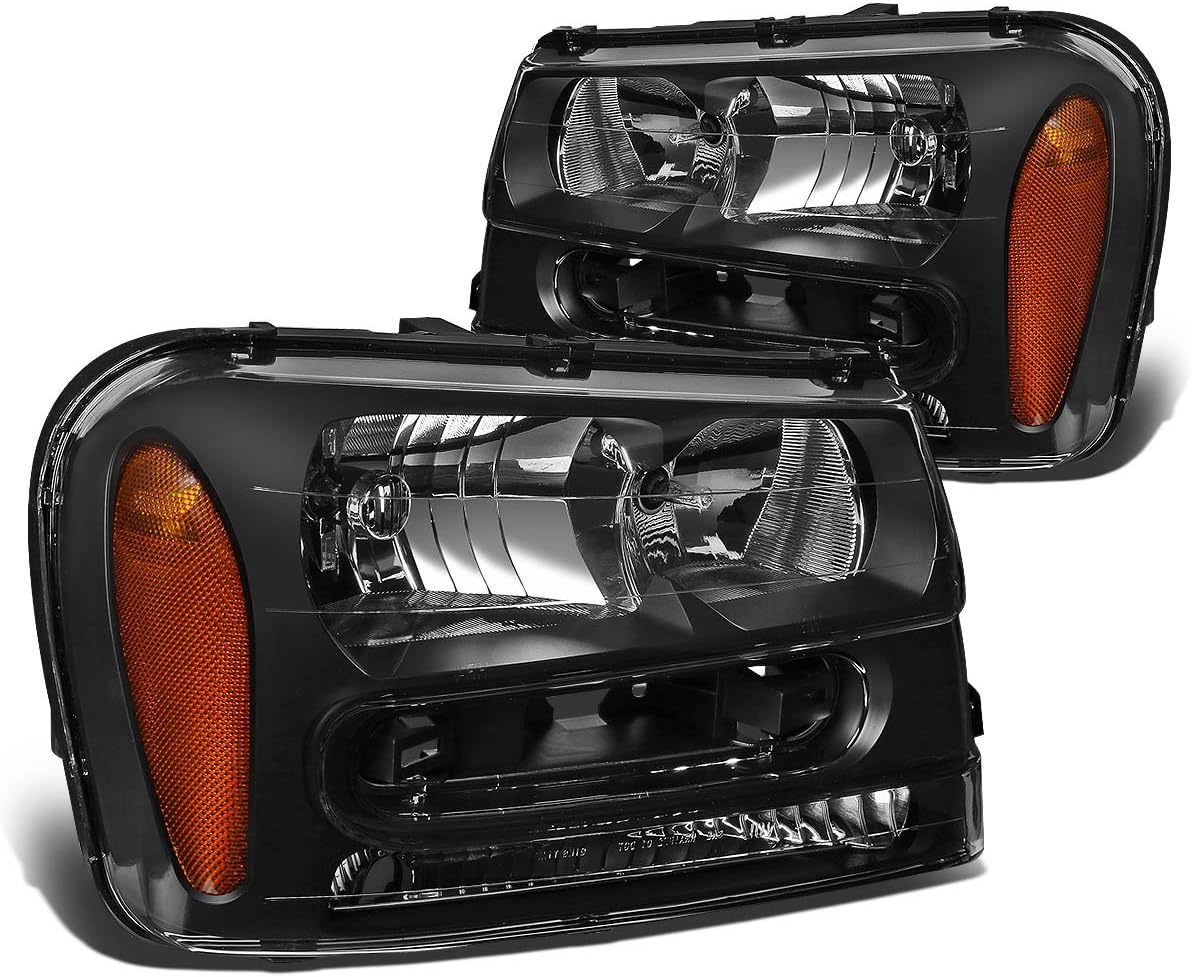
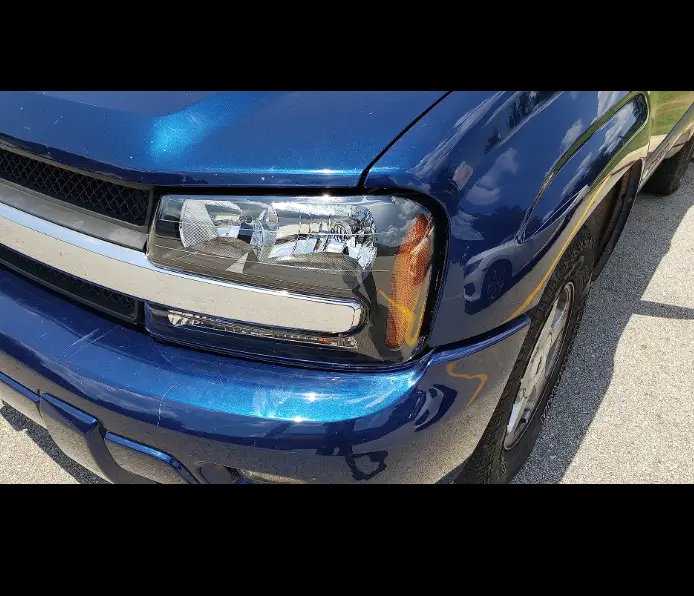
Introducing the DNA Motoring HL-OH-TRA02-BK-AM Black Housing Amber Corner Headlights, powered with the support of bright and efficient LED lights. These sleek lights add a stylish touch to your car while keeping you safe on the road. The support of LED bulbs is always a plus for any headlight assembly because LED lights use less energy, saving you money on your fuel consumption.
These headlights don’t get yellowed, and they’re waterproof, so whether it’s raining or broad daylight, these headlights won’t let you down. Meaning they’re protected from the environment and UV lights during daytime driving.
Built tough with black housing and amber corner design, these headlights are durable and stylish. They can handle everyday wear and tear, so you can drive with confidence, knowing your lights will stay bright and look good.
The simple design makes changing headlights easier than ever. These are plug-and-play, meaning you can simply swap them out for your old ones without any special tools.
These headlights are a good size, measuring 23 x 17 x 14 inches and weighing 14.96 pounds. Make sure they fit your car before buying it. The package also includes a pair of headlight bulbs for both the driver and passenger sides.
Pros
- Give the truck a very sporty look, very clean, and great quality plastic.
- Look great on a 2007 Chevy Trailblazer
- Cheaper than the OEM
Cons
- Most customers had a negative review of the quality of the bulbs that are included with the assembly.
- Some customers reported that the high and low beams do not adjust properly.
Note: The pros and cons above are gathered from here.
How to install DNA Motoring Black Housing?
The installation process may vary depending on the specific model and year of your vehicle. However, here is a general guide that might help you assemble it at home.
General Installation Steps:
- Gather necessary tools and materials – You will likely need screwdrivers (Phillips and flathead), socket wrench set, flashlight, shop towels, and replacement bulbs (HB3/9005 for high beam, HB4/9006 for low beam).
- Safely disconnect the battery – This is important to prevent electrical shock during the assembling process.
- Connect the new headlight assembly – Check all connections for secure and proper polarity.
Additional Resources:
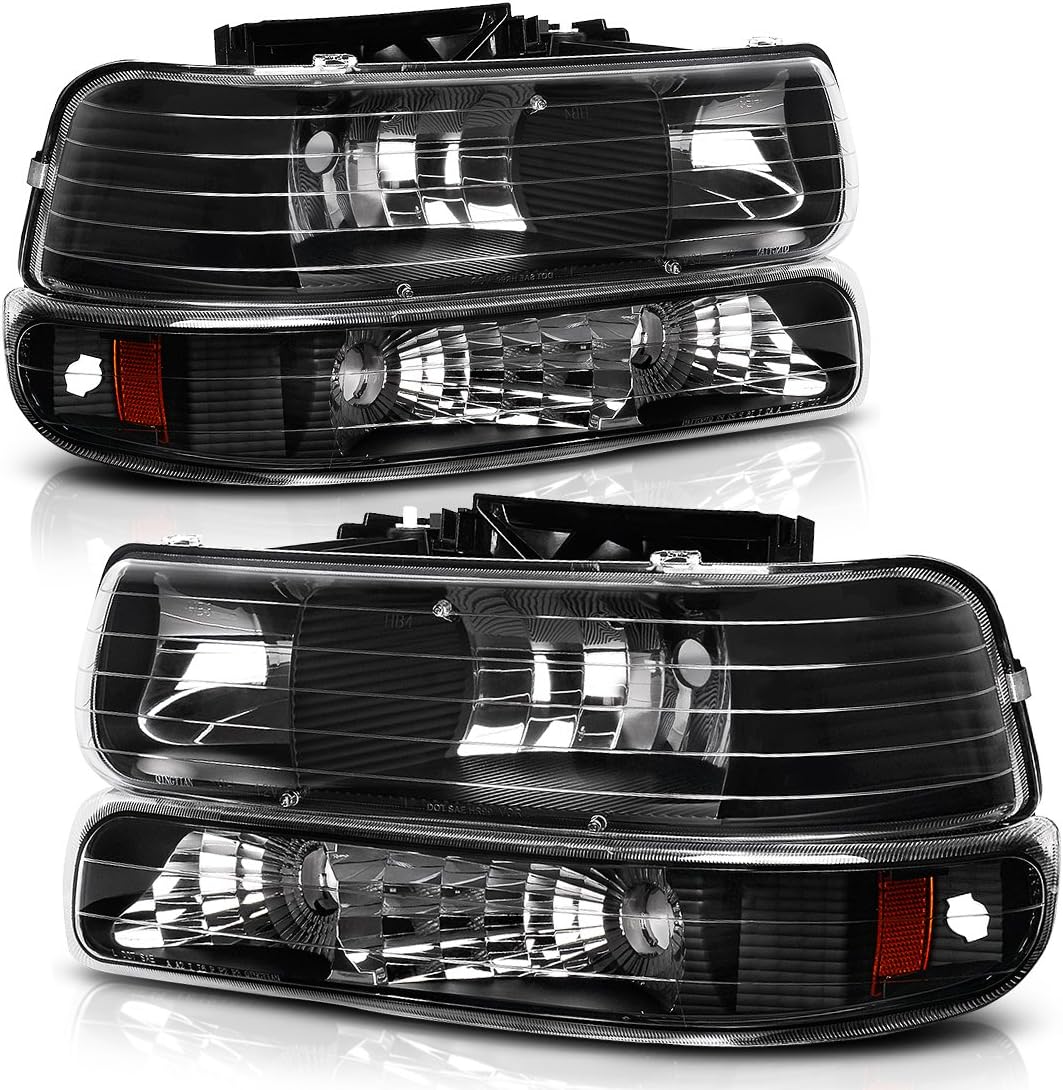
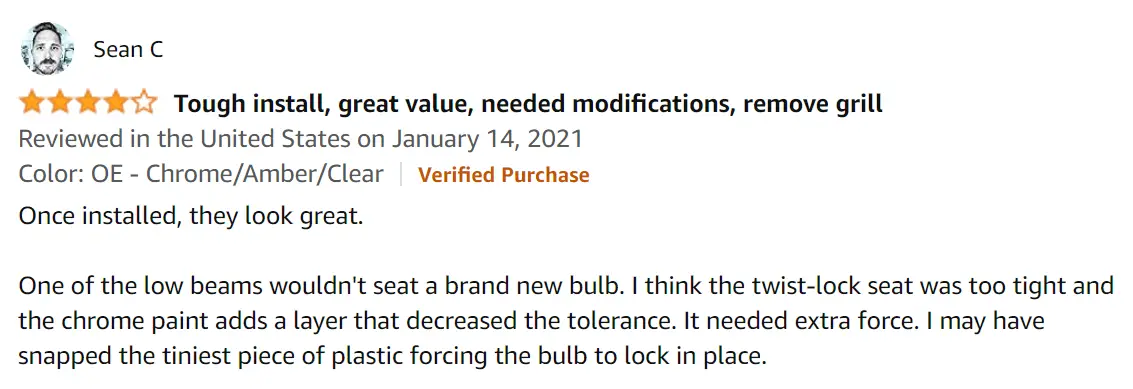
#5. AUTOSAVER88 Headlight Assembly
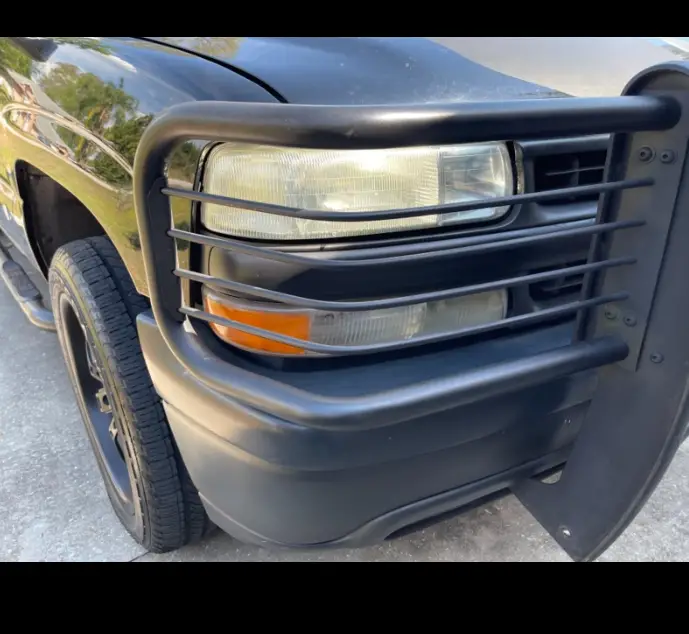
Introducing the AUTOSAVER88 Headlight Assembly, which brings the support of standard bright halogen bulbs to your car. These bulbs are common in most cars, giving you a decent amount of efficiency and a clear view of the road ahead. Although they are not as good as LEDs, but still a decent option. Plus, they’re easy on your wallet, making them a budget-friendly choice.
You don’t need to worry about rain or snow because these headlights are silicon-sealed, meaning they’re protected from weather conditions that are usually harmful to your headlights, but the silicon seal provides a strong protection layer against these weather conditions.
These headlights have a tough polycarbonate lens. This material is super strong and can handle bumps and scratches, so you can drive with confidence without worrying about the safety and brightness of your headlights.
While these headlights aren’t plug-and-play, installation is still easy for an average owner with decent experience behind the wheel.
These headlights are lightweight and compact, measuring 23.25 x 20.5 x 7.75 inches and weighing only 7.41 pounds. A perfect fit for vehicles such as the 2002 Silverado truck.
Pros
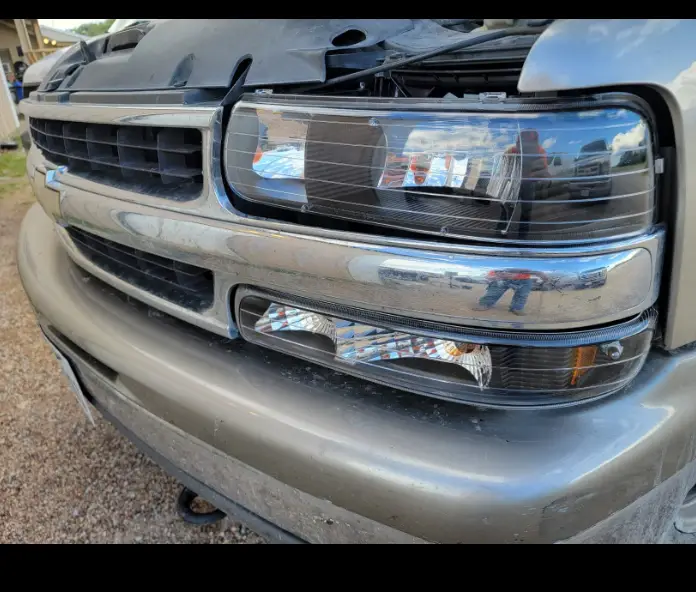
- Works great on a Suburban and fits like OE
- Although the housing is black, the lenses are clear – not smoked – so even though you’re getting a way better look, you’re not paying for it with dimmed lighting.
Cons
- Some customers reported that the seal around the lens did not appear to be watertight.
- Some customers had an issue where a low beam socket ring had to be removed to allow the wiring to be connected.
Note: The pros and cons above are gathered from here.
How to install Autosaver88 Headlight Assembly?
3 Key Factors for Choosing Best Headlight Assembly Replacements
Headlight assembly replacements come in a wide variety of compatibility, price, light source, weight, and dimensions. To address this matter, we’ve compiled a list of three important factors to consider while purchasing new headlight assembly replacements.
By considering the factors mentioned, you can make an informed decision that prioritizes quality, safety, efficiency, and compatibility for your specific needs.
1) Compatibility:
It is the most important factor to consider when buying the best headlight assembly replacements. Because headlight assemblies aren’t one-size-fits-all. They’re designed to match the precise contours and mounting points of a specific year, make, and model of a vehicle. Choosing the right component ensures a seamless and secure fit without gaps or the need for modifications.
Even within the same model and year, headlight designs can vary depending on the trim level (e.g., basic, sport, luxury). Incorrect selection could mean mismatched headlight shapes or missing features like fog lights.
Moreover, compatible headlight assembly is the foundation for proper headlight alignment, which in turn ensures optimal visibility for you and saves you time and effort because it fits perfectly and matches existing mounting points.
2) Price:
Always understand that price shouldn’t be the sole deciding factor when buying the best headlight assembly replacements. Because lower prices can indicate lower-quality materials and construction.
2.1) Labor Cost while purchasing headlight:
Try to choose a headlight having plug and play feature. So, If you plan to install the assembly yourself, it will save you time and money. But If professional installation is required, research labor costs to get a complete picture of the total expense.
2.2) Choosing Standard Headlight vs. Upgrade Cost:
Consider if you simply want a replacement or desire an upgrade to features like LED or projector headlights. Upgraded features often come at a higher cost.
2.3) Warranty:
Longer warranties offer peace of mind and can be worth the additional cost if they cover potential future issues.
2.4) OEM vs. Aftermarket: Which should you choose based on price?
- OEM (Original Equipment Manufacturer) is directly from the car manufacturer and offers the best fit and quality, but comes at a premium price.
- Aftermarket headlights are typically less expensive than OEM but can vary in quality. Research reputable brands for good value.
2.5) Shipping or delivery fees:
Consider any additional charges for getting the assembly to you.
2.6) Returns and exchange policies:
Understand the costs and processes involved in case of any issues with the product.
3) Light Source
You should also consider light sources while purchasing the best headlight assembly replacements. Always consult your owner’s manual or qualified mechanic to determine the recommended light source type for your specific vehicle. Because using the wrong type of bulb can lead to compatibility issues, or even damage the electrical system.
3.1) Types of Light Source:
- Halogen: Most common and affordable, offering decent performance. However, they have a lower lifespan and generate more heat compared to other options.
- HID (High-Intensity Discharge): Brighter and more energy-efficient than halogen, but costlier. May require additional components like ballasts for proper function.
- LED (Light-Emitting Diode): Most energy-efficient and offers excellent lifespan and light quality. However, they are typically the most expensive option.
3.2) Which light source should you choose?
- If driving frequently at night or in low-light conditions, consider brighter options like HID or LED.
- Halogen bulbs are the most affordable, while LEDs offer the best long-term value due to their extended lifespan and lower energy consumption.
- Some drivers prefer the whiter, more modern look of HID and LED compared to the yellowish halogen light.
Legal Requirements for Headlights
Certain regions have regulations regarding headlight brightness and color temperature. Research local regulations to ensure your chosen light source is legal to use in your area. Projector headlights often require specific bulb types to maintain proper beam patterns and avoid blinding other drivers. For more details, visit the National Highway Traffic Security Administration‘s Official Website.