Finding the Best Aftermarket Headlights for 2004 Chevy Silverado can be an overwhelming task because of the huge number of options available, each differing in quality, size, features, compatibility, and a lot more.
That’s why we have prepared this list along with a proper guide for those who are looking for an upgrade for their Chevys. In this article, we will compare the 5 best-selling headlights for 2004 Chevy Silverado, their features, size, bulb type compatibility, weather resistance, and a lot more.
| Preview | Product | Weather Resistance | Dimensions | Ease of Installation | Weight | Price |
|---|---|---|---|---|---|---|
 |
DNA MOTORING Chrome Amber Headlights | Sealed Structure | 24 x 17 x 9 | Plug and Play | 10.78 pounds | Check Price |
 |
DNA MOTORING Black Housing Headlights | Sealed Structure | 20.15 x 17.25 x 9.5 | Plug and Play | 10.73 pounds | Check Price |
 |
AUTOSAVER88 Headlight Assembly | Silicon Sealed + One-way Vents | 23 x 16.6 x 9.5 | Plug and Play | 11.2 pounds | Check Price |
 |
AUTOSAVER88 Black Headlight Assembly | Silicon Sealed + One-way Vents | 20.5 x 17.3 x 9.8 | Plug and Play | 12.38 pounds | Check Price |
 |
DNA MOTORING Black Housing 3D LED DRL Headlight | Sealed Structure | 26.97 x 16.73 x 7.87 | Plug and Play | 6 pounds | Check Price |
Note: The above-mentioned details are taken directly from reviews and manufacturer’s specifications on the official product pages at amazon.com, and some of these products do NOT include the bulbs with the package. We may earn some commission if you buy any product using our affiliated links.
Best Aftermarket Headlights for 2004 Chevy Silverado Ranked
#1. DNA MOTORING Chrome Amber Headlights
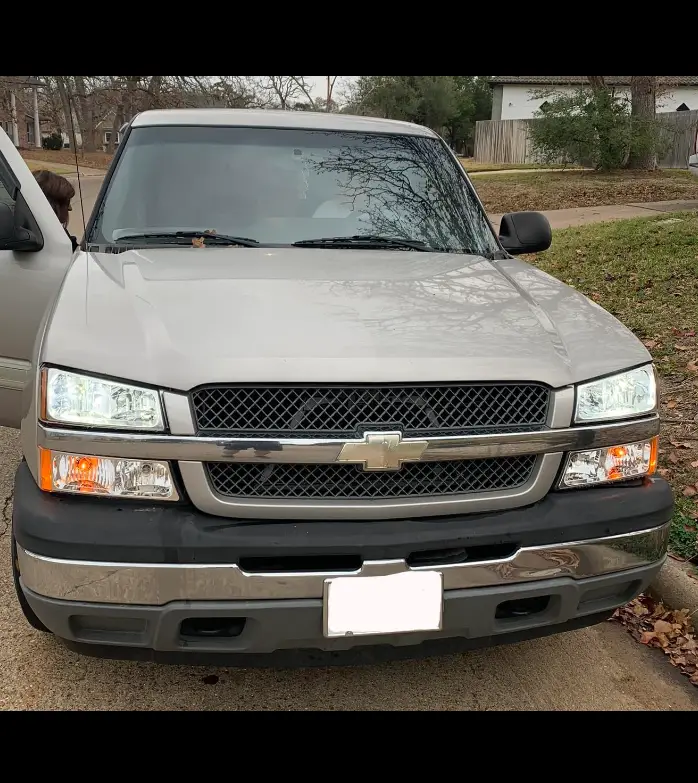


The DNA MOTORING Chrome Amber Headlights make it on the top of the list of best Aftermarket Headlights for 2004 Chevy Silverado, for the several features, plus the compatibility it offers. These headlights use LED bulbs, which are known to be energy-efficient and last longer than traditional bulbs. LED bulbs also provide a brighter light, which can help you see better at night.
The headlights are weather-resistant, meaning they are sealed to protect them from rain, snow, and other harsh weather conditions. This helps to ensure that the headlights will continue to function properly, even in bad weather.
These headlights are advertised as plug and play, and the customers have heavily backed up this claim in their reviews. They are designed to be easy to install, which means that you should be able to connect them to your car’s electrical system without any modifications.
These headlights weigh approximately 10.8 pounds and measure 24 inches long, 17 inches wide, and 9 inches tall. The package includes one pair of headlights and one pair of bumper lights (driver and passenger side).
Pros
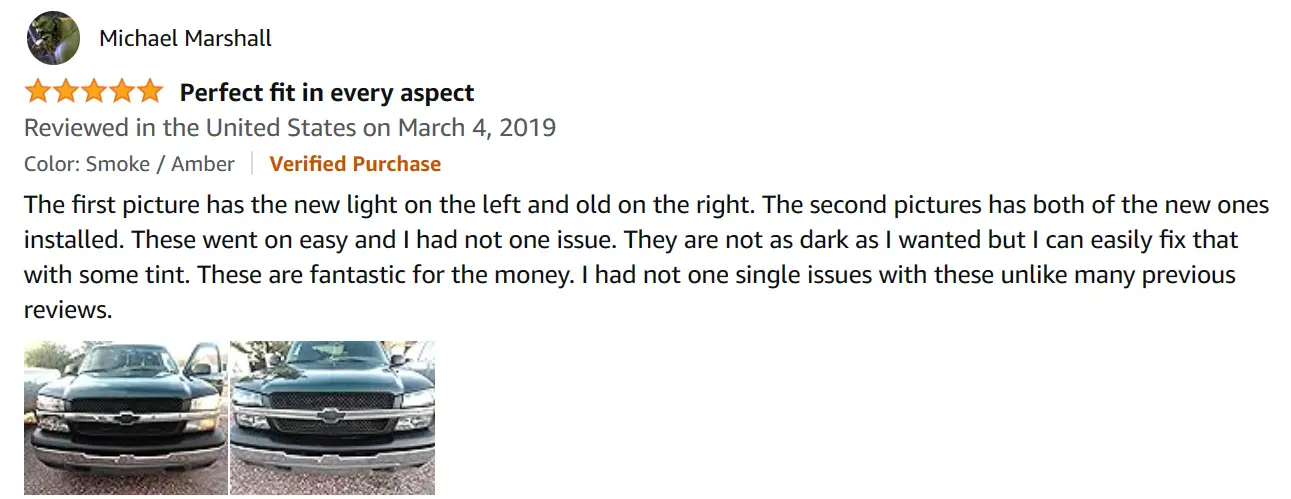
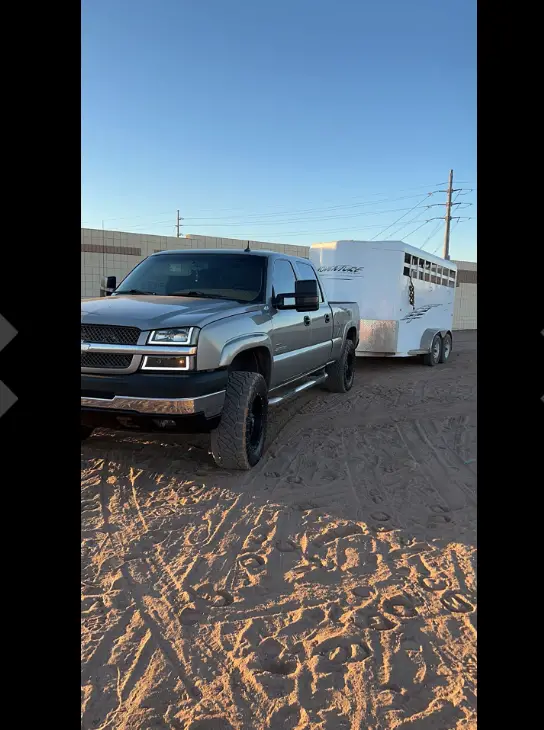
- Excellent compatibility, customers said that it was the perfect replacement for their 2005/2004/2003 Chevy Silverado.
- Great product for the price and the lens improves nighttime visibility.
Cons
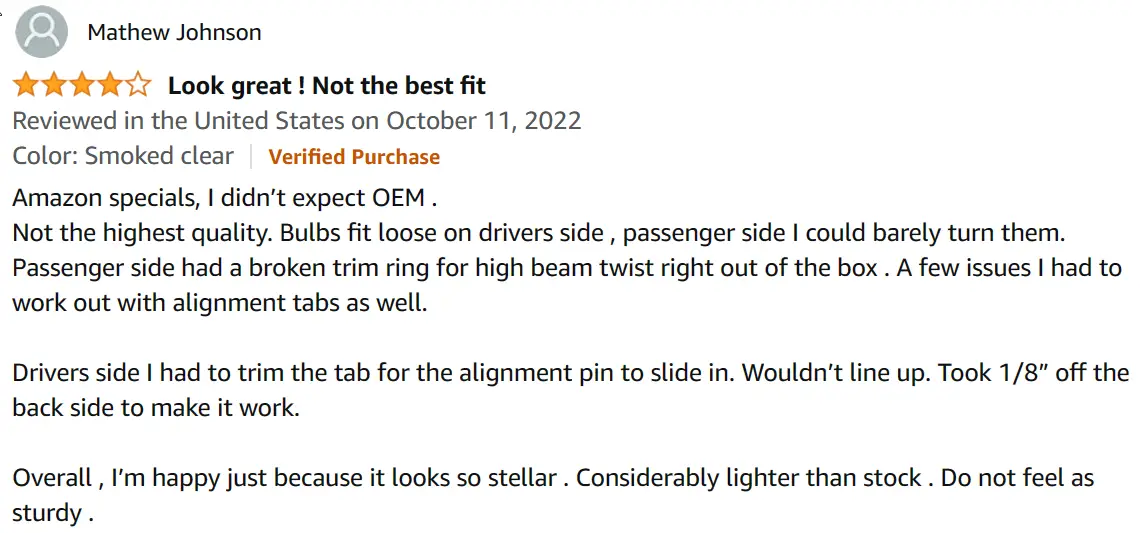
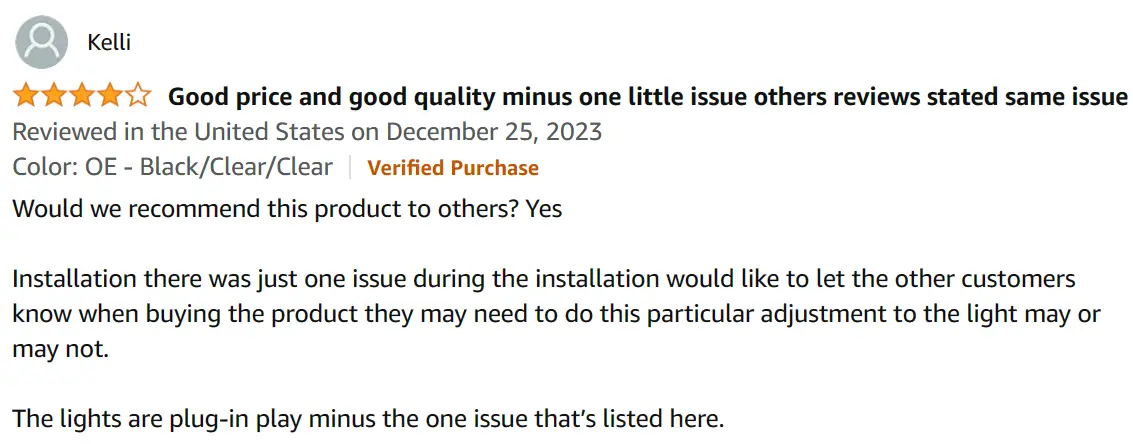
- Customers mentioned that the fit was not as good as most OEM.
- Some users had difficulty with bulb fitting on the passenger’s side as the ring was tight.
How To Install DNA Motoring Chrome Amber Headlights?
- Park your car safely and turn it off.
- Open the hood and locate the existing headlights. Refer to your car’s manual or online resources if needed.
- Disconnect the negative battery terminal to prevent electrical hazards.
- Identify the mounting screws and clips holding the old headlight in place. Carefully remove them.
- Disconnect the electrical connectors from the old headlight. Note their positions for reassembly.
- These steps might vary depending on your car model:
- Some headlights might require removing the bumper or other components for access.
- Some headlights might have additional adjustments (e.g., levelers) that need to be noted and transferred to the new ones.
- Position the new headlight in place and secure it using the original mounting hardware.
- Reconnect the electrical connectors to the new headlight, ensuring they match the positions from the old one.
- Reconnect the negative battery terminal.
- Turn on your headlights and test their functionality. Ensure they are properly aimed and adjust if necessary (consult your car’s manual or seek professional help for safe aiming).
#2. DNA MOTORING Black Housing Headlights
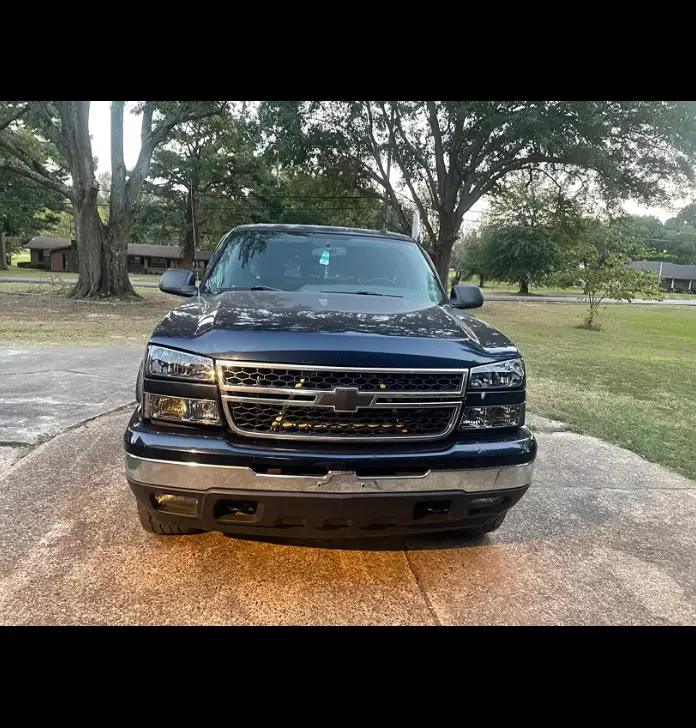
The DNA Motoring Black Housing Headlights is a popular customer choice when it comes to best aftermarket headlights for 2004 Chevy Silverado. These also come with the support of LED bulbs. LED bulbs are the most efficient bulb type in the market as they use less energy than regular bulbs. They also shine brighter, helping you see better at night.
These headlights are also weather resistant. This means they are sealed and protected from rain, snow, and other bad weather. This helps keep the headlights working properly and looking good for a longer time.
Installing these headlights is easy because they are plug and play. This means they connect to your car’s existing electrical wiring without any cutting or splicing, any normal user can be done with the installation without needing professional help.
The headlights weigh about 10.8 pounds and measure 20 inches long, 17 inches wide, and 9.5 inches tall. When you receive the package, you will find two headlights and two bumper lights included (1x driver and 1x passenger side each).
Pros
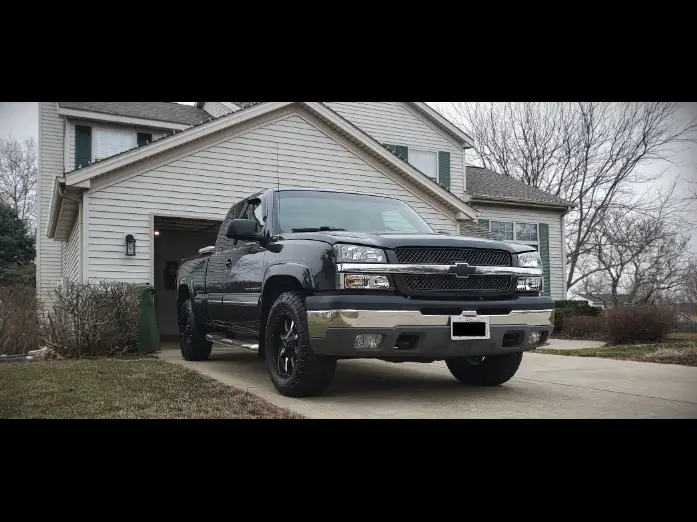
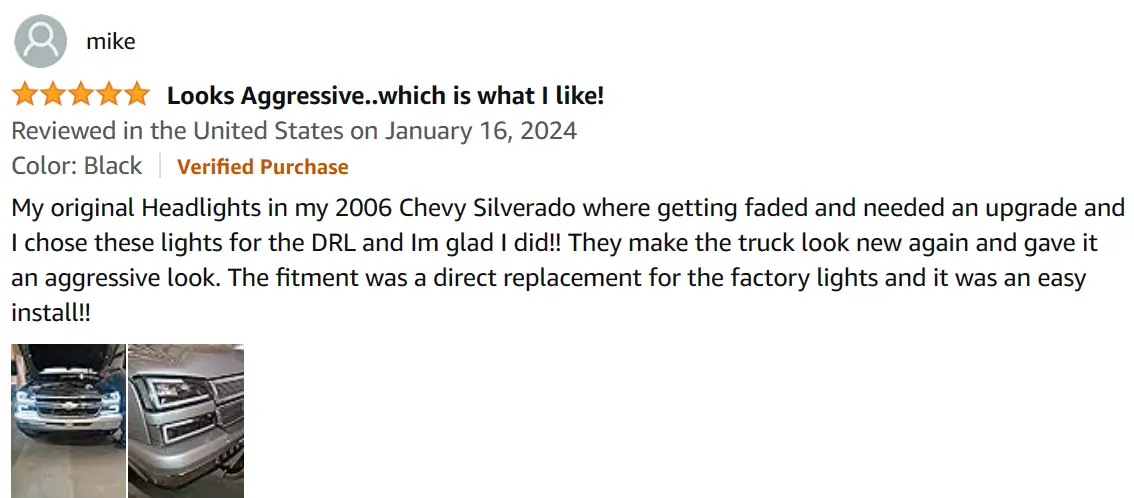
- Customers praised the aggressive and excellent appearance of the housing.
- Perfect fit for most 03-06 Chevy trucks as suggested by the reviews.
Cons
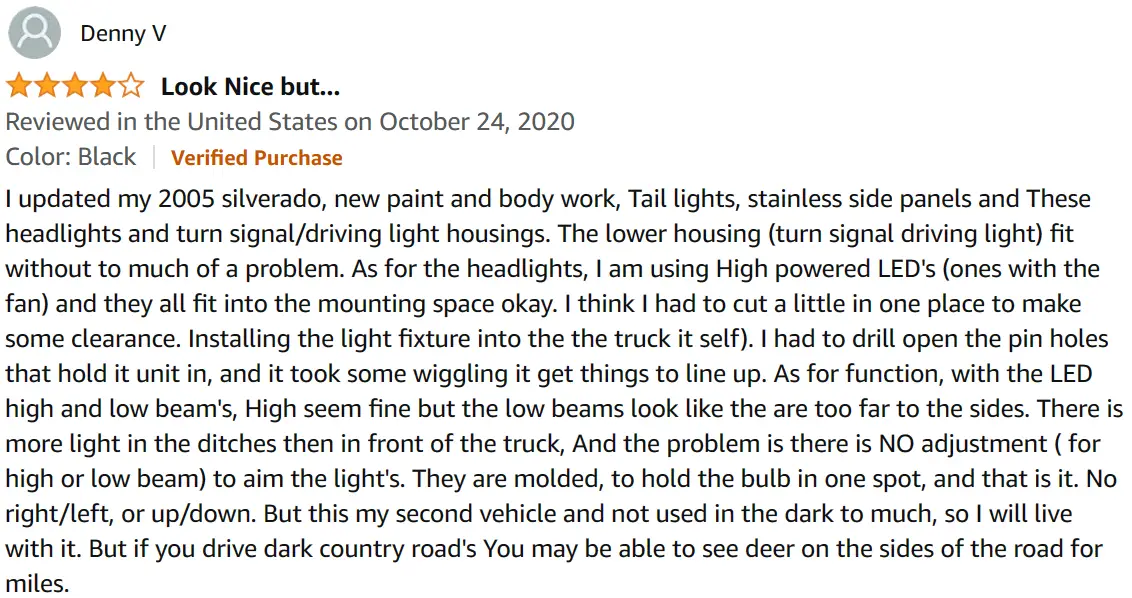
- Some customers said that the quality was cheaper than OEM.
- Some users had difficulty fitting the bulb inside the passenger side headlights
How To Install DNA MOTORING Black Housing Headlights?
- Safety first: Begin by securing your vehicle in a safe, level parking spot and turning off the engine.
- Disconnect the battery: For safety reasons, disconnect the negative terminal of the battery to prevent any electrical hazards.
- Remove the old headlight: Identify the mounting screws and clips holding the old headlight in place. Carefully remove this hardware using appropriate tools.
- Disconnect electrical connections: Gently disconnect the electrical connectors plugged into the old headlight, taking note of their positions for later reassembly.
- Note model-specific variations: Different car models might require additional steps, such as removing the bumper or other components to gain proper access. Additionally, some headlights might have specific adjustments (like levelers) that need to be noted and transferred to the new ones.
- Install the new headlight: Position the new headlight securely in its designated space and use the original mounting hardware to fix it firmly in place.
- Reconnect the electrical connectors: Carefully reconnect the electrical connectors to the new headlight, ensuring they match the positions noted from the old one.
- Reconnect the battery: Reconnect the negative battery terminal back to the battery.
- Test and adjust: Turn on your headlights and check if they function properly. Ensure they are correctly aimed. If adjustments are needed, consult your car’s manual for safe aiming procedures or seek professional help for proper alignment.
#3. AUTOSAVER88 Headlight Assembly

The AUTOSAVER88 Headlight Assembly comes with two different bulb options: LED and halogen. LED bulbs use light emitting diodes, which are energy efficient and last a long time. Halogen bulbs are the standard type of headlight bulb and are what most cars come with from the factory.
This headlight assembly is weather resistant, meaning it is sealed to protect it from rain, snow, and other harsh weather conditions. This helps to ensure that your headlights will continue to work properly, no matter the weather.
The installation process is plug and play, which means that the headlights are designed to connect easily to your car’s electrical system. This can save you time and money on installation, but it is always recommended to consult a professional if you are not comfortable doing the installation yourself.
The headlights weigh 11.02 pounds and measure 23 inches by 16.6 inches by 9.5 inches. The box includes only the headlight housing, so you’ll need to arrange the bulbs yourself.
Pros
- A ton of positive reviews about the fitting and compatibility with the 2003-2005 Chevy Silverado & Amber Delete
- Customers liked the build quality of these headlights.
Cons
- Customers complained that the lower light housing develops moisture.
- Customers complained about the lens’ poor light reflector pattern.
How To Install AUTOSAVER88 Headlight Assembly?
- Safety Check: Before starting, ensure your car is parked securely and the engine is completely off.
- Turn off the Power: To prevent electrical hazards, disconnect the negative battery terminal. This is crucial, so don’t skip this step!
- Unscrew: Identify the mounting screws and clips holding the old headlight in place. Carefully remove them using appropriate tools to avoid damaging anything.
- Disconnect the Wires: Gently unplug the electrical connectors from the old headlight. Make a mental note of their positions for when you reconnect the new one.
- Model Matters: Be aware that some car models might require additional steps, like removing the bumper or other components for easier access. Additionally, some headlights have specific adjustments like levelers that need to be noted and transferred to the new ones.
- Install the New Headlight: Carefully position the new headlight in its designated space and use the original mounting hardware to secure it firmly in place.
- Reconnect the Battery: Carefully plug the electrical connectors back into the new headlight, ensuring they match the positions you noted earlier.
- Power Up: Reconnect the negative battery terminal back to the battery.
#4. AUTOSAVER88 Headlight Black Housing Assembly

This is a black headlight assembly from AUTOSAVER88. It works with two different types of bulbs: LED and halogen. LED bulbs use light-emitting diodes, which are energy-efficient and last longer than traditional halogen bulbs. Halogen bulbs are brighter and provide a whiter light but are less energy efficient, these are the type of bulbs that come pre-installed in most stock vehicles.
These headlights are built to last in any weather because they are silicone-sealed and have one-way vents to prevent moisture from getting inside, and if moisture does get inside, these one-way vents are very effective in getting the moisture out by itself. This helps to protect the headlights from damage and corrosion.
Installing these headlights is easy because of their simplicity. They are plug and play, which means they can be connected to your car’s existing wiring harness without any modifications.
The headlights weigh 12.38 pounds and measure 20.5 inches by 17.3 inches by 9.8 inches. The box includes a pair of headlights, for both the driver and passenger side. Note that the bulbs are not included in the package.
Pros
- Greater light output due to the metallic parabolic reflectors that creates a broader and smoother beam.
- Looks very unique and attractive as compared to other options.
Cons
- Complains of the driver side bottom light taking on water.
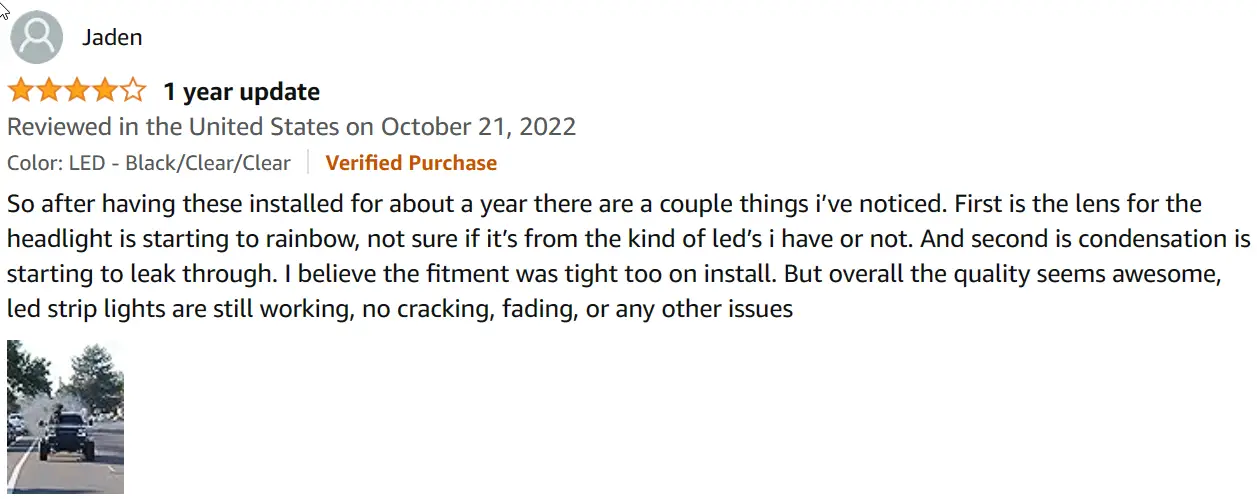
- They begin to discolor halfway through their average lifespan of 18-24 months as reported by some customers.
How To Install AUTOSAVER88 Black Headlight Housing?
- Prioritizing Safety: To prevent electrical hazards, disconnect the negative terminal of the battery. This step is crucial, so don’t skip it!
- Removing the Old Headlight: Identify the mounting screws and clips that hold the old headlight in place. Carefully remove them using appropriate tools to avoid damaging surrounding components.
- Disconnecting the Electrical Connectors: Gently unplug the electrical connectors from the old headlight. Take note of their positions for when you reconnect the new one to ensure everything matches correctly.
- Model-Specific Variations: Be aware that some car models might require additional steps, such as removing the bumper or other components, to gain proper access for installation. Furthermore, some headlights might have specific adjustments, like levelers, that need to be noted and transferred to the new ones.
- Installing the New Headlight: Carefully position the new headlight in its designated space and use the original mounting hardware to secure it firmly in place.
- Reconnecting the Electrical Connectors: Carefully plug the electrical connectors back into the new headlight, ensuring they match the positions you noted earlier.
- Restoring Power: Reconnect the negative battery terminal back to the battery.
#5. DNA MOTORING Black Housing 3D LED DRL Headlight
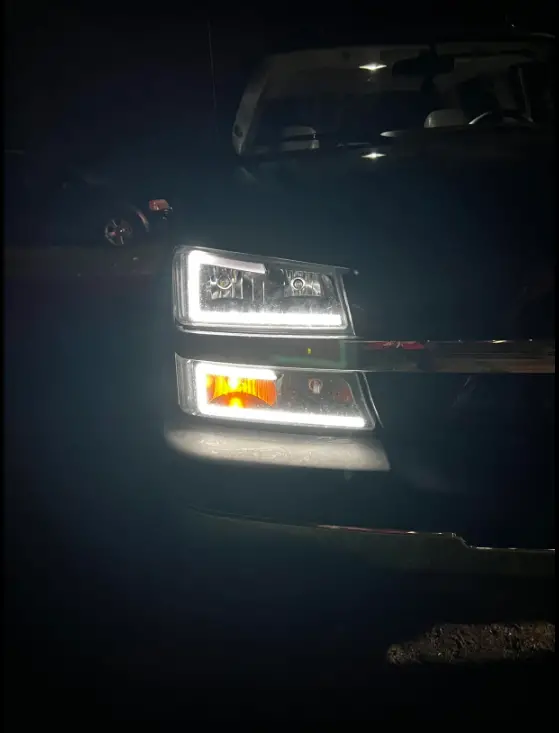
The DNA MOTORING Black Housing 3D LED DRL Headlights is probably the most stylish and aggressive looking choice out of the 5 best aftermarket headlights for 2004 Chevy Silverado. This headlight uses LED bulbs, which are like tiny, super bright light chips. They use much less energy than traditional bulbs and last a lot longer, saving you money on replacements and fuel consumption.
These headlights are sealed tight to keep the inner workings protected, ensuring they keep shining brightly and stay functional in all conditions. Therefore, you don’t need to worry about any harm from rain, snow, or dust.
These headlights are designed for an easy plug and play installation. This means they should connect directly to your existing wiring, eliminating the need for complicated modifications.
Each package includes a pair of headlights (one for each side) and a pair of matching bumper parking lights. The headlights measure roughly 27 inches long, 17 inches wide, and 8 inches tall, and weigh about 6 pounds each unit.
Pros
- The LED strips on this headlight makes it look very attractive and are very easy to wire.
- The excellent fitment makes it a direct replacement to your existing OEM.
Cons
- Some customers complained about the build quality and the lifespan of these headlights.
- Few reports of discoloring.
How To Install DNA MOTORING 3D LED DRL Headlight Assembly?
Before you begin, prioritize safety:
- Park your car securely on a level surface and turn off the engine completely.
- Pop the hood open to access the engine compartment.
- Disconnect the negative terminal of the battery using appropriate tools. This crucial step prevents electrical hazards.
- Identify the mounting screws and clips securing the old headlight. Carefully remove them with appropriate tools, ensuring you don’t damage surrounding components.
- Disconnect the electrical connectors from the old headlight. Make a note of their positions for easier reassembly with the new headlight.
- Remember, some car models might require additional steps. This could involve removing the bumper or other components for proper access.
- Additionally, some headlights have specific adjustments like levelers. These adjustments need to be noted and transferred to the new headlights during installation.
- Carefully position the new headlight in its designated space.
- Secure it firmly in place using the original mounting hardware.
- Gently plug the electrical connectors back into the new headlight, ensuring they match the positions noted earlier.
find the best aftermarket headlights for 2004 chevy silverado (3 tips)
Headlight replacements come in an overwhelming variety, differing in compatibility, price, technology, weight, and size. To navigate this complexity, here are three crucial factors to consider before you buy:
1. Compatibility: The Cornerstone of Safety and Functionality
This is the absolute priority. Headlights aren’t universal; they’re specifically designed for your car’s year, make, and model. Choosing the right one ensures:
- Seamless fit: No gaps or need for modifications.
- Proper alignment: Crucial for optimal visibility and avoiding blinding other drivers.
- Correct features: Matching your original setup (e.g., fog lights, high beams).
Even within the same model year, different trim levels might have unique headlight designs. The wrong choice could result in mismatched shapes or missing features. Remember, a compatible assembly is the foundation for proper alignment and safe driving.
2. Price: Beyond the Sticker Tag
While price is important, it shouldn’t be the sole deciding factor. Lower prices often indicate lower-quality materials and construction, potentially leading to:
- Shorter lifespan: Frequent replacements can negate any perceived savings.
- Dim or malfunctioning lights: Compromising safety and visibility.
Consider these additional factors beyond the base price:
- Labor costs: Choose “plug and play” options for DIY installation, saving time and money. Consider professional installation costs if needed.
- Upgrade options: Standard replacements are affordable, while LED or projector headlights offer improved features at a higher cost.
- Warranty: Longer warranties offer peace of mind and can be worth the additional cost.
- OEM vs. Aftermarket:
- OEM (Original Equipment Manufacturer): Best fit and quality, but pricier.
- Aftermarket: More affordable, but quality can vary. Research reputable brands.
- Shipping and returns: Consider additional costs and return policies.
3. Light Source: Illuminating the Way Forward
Light source technology plays a crucial role in performance and safety. Always consult your owner’s manual or a mechanic to know the recommended source for your car. Using the wrong type can lead to:
- Compatibility issues: Bulbs might not fit or function properly.
- Electrical system damage: Incompatible bulbs can overload circuits.
Here’s a quick overview of common light sources:
- Halogen: Most common and affordable, offering decent performance. However, they have a shorter lifespan and generate more heat compared to other options.
- HID (High-Intensity Discharge): Brighter and more energy-efficient than halogen, but costlier. May require additional components for proper function.
- LED (Light-Emitting Diode): Most energy-efficient and offers excellent lifespan and light quality, but typically the most expensive option.
Choosing the right light source:
- If you frequently drive at night, consider brighter options like HID or LED.
- Halogens are the most affordable, while LEDs offer the best long-term value due to their extended lifespan and lower energy consumption.
- Some drivers prefer the whiter, more modern look of HID and LED compared to the yellowish halogen light.
By understanding these key factors, you can make an informed and smart decision when purchasing new headlight assemblies, ensuring optimal visibility, safety, and value for your specific needs.
Headlight Safety Requirements
The National Highway Traffic Safety Administration (NHTSA) sets standards for headlights on cars and other motor vehicles. All vehicles must have at least two working headlights and must comply with the applicable standards set by NHTSA. Ensure that the headlights are in proper working order, so you can stay safe on the roads. It’s important to check your vehicle regularly to make sure that all lights are functioning correctly.
For more details, visit NHTSA.